…and the drywall transition to the vigas and glulam is really looking amazing.
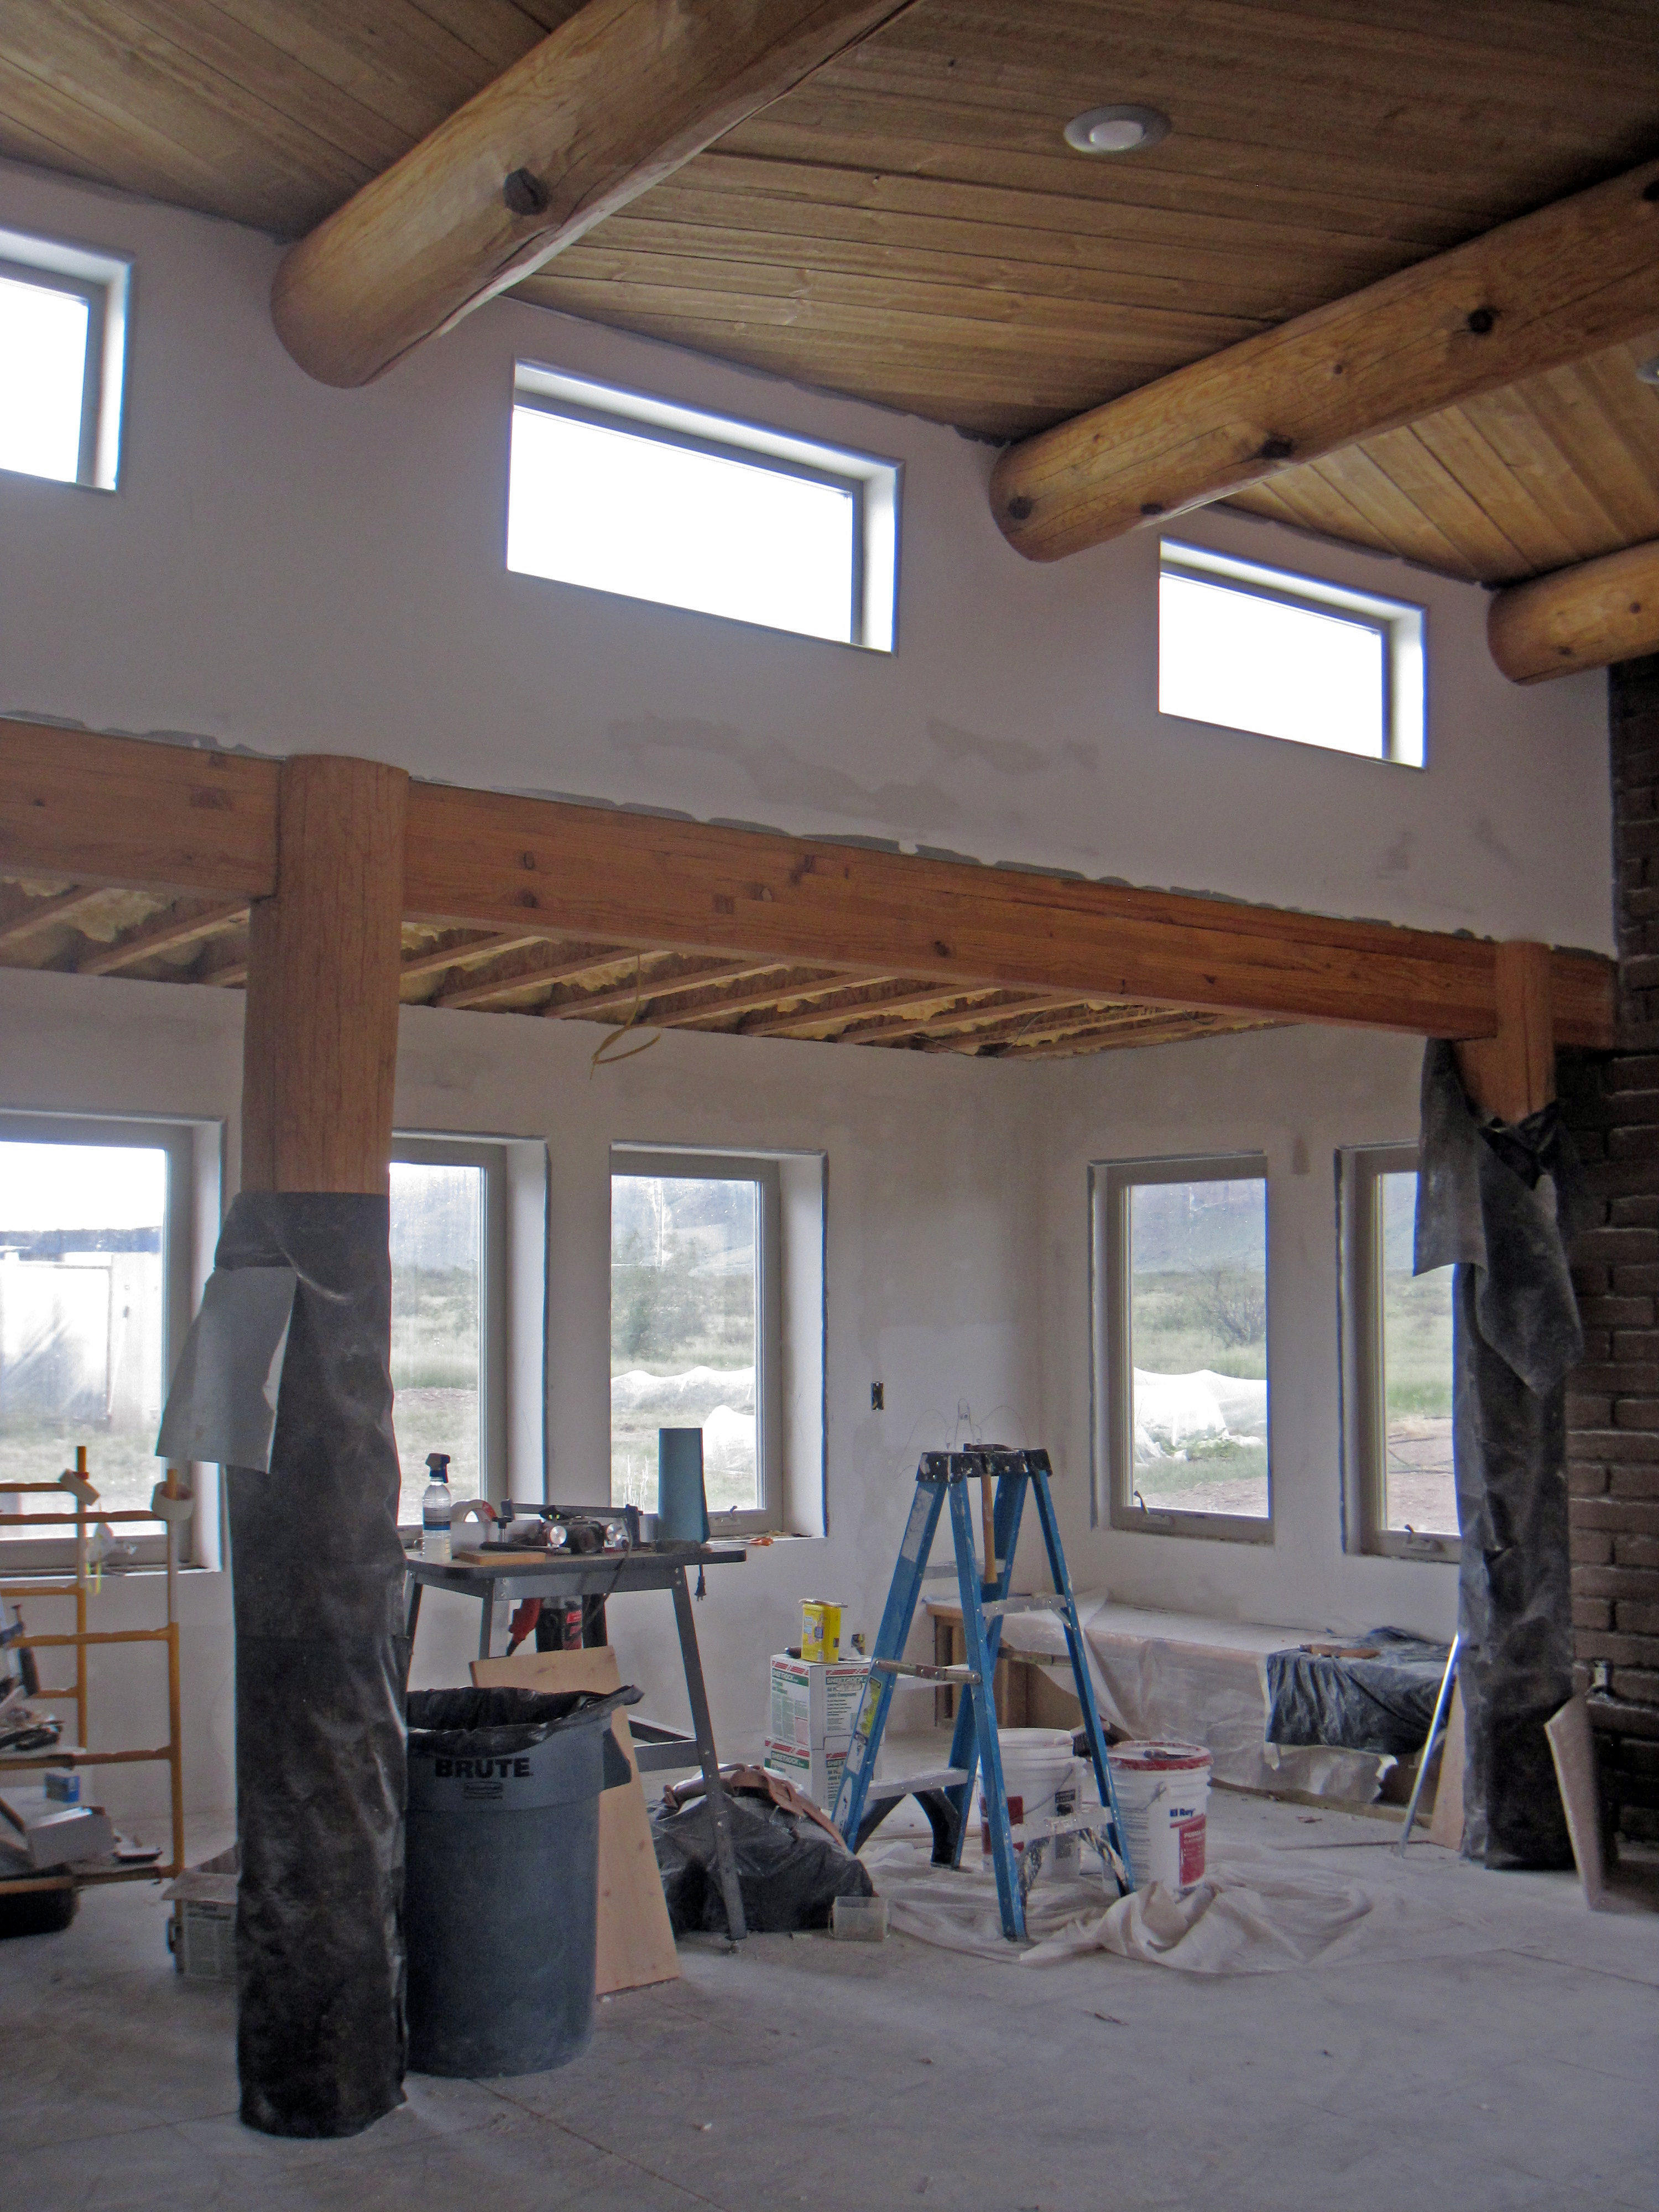

…and the drywall transition to the vigas and glulam is really looking amazing.
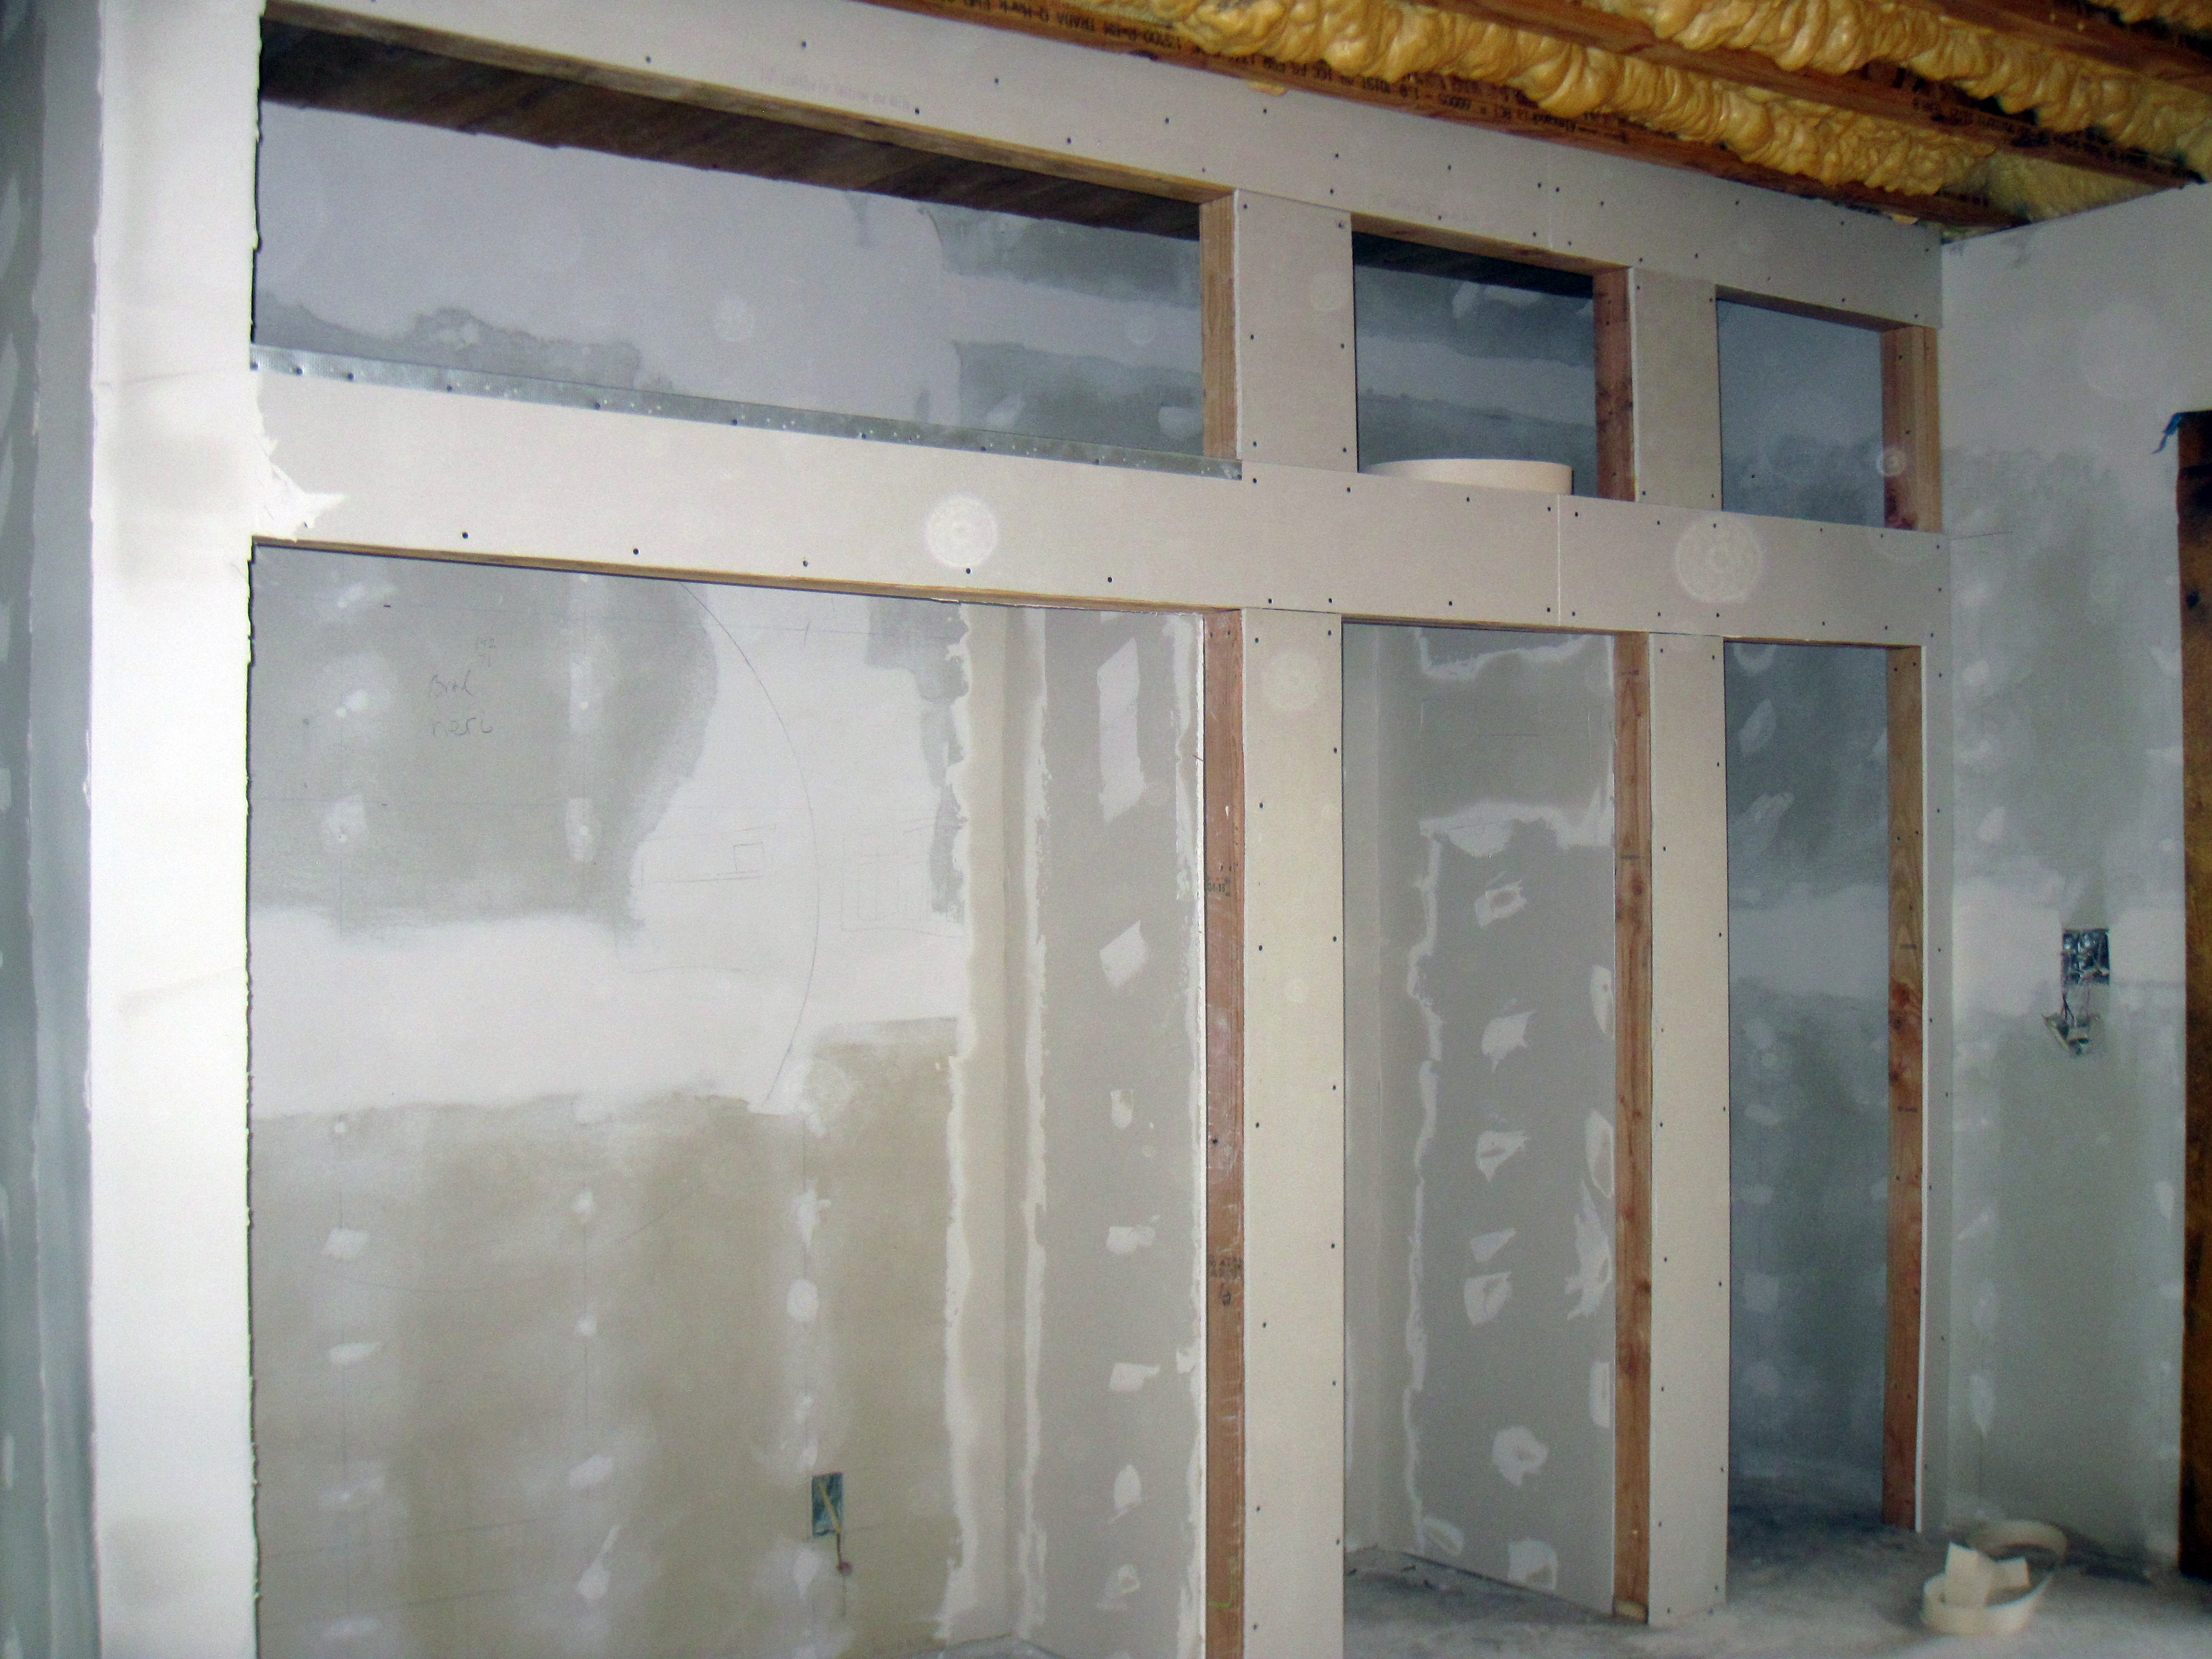
Here’s a picture that shows the clerestory windows….

And this shows the whole height of the room (main entry in bottom right corner)…
Two more to go!
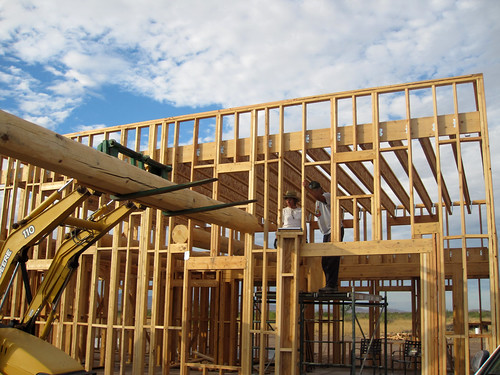
#2 accomplishment for this week: we got the first viga up!
It’s always hard to imagine exactly how this stuff will look when it’s finally done.

You might remember that these large timbers have been sitting about five feet or so below the ceiling for the past 5 months. Now with the ceiling getting finished, it’s time to put them up. (And all of this needed to happen before adobe brick could go much higher, since the brick will sit under one end of the viga.)
We’ve both been worrying about this step quite a lot, me especially. The vigas are quite heavy — too heavy even for both of us to lift one end. Brad devised a way to jack these up into place, but I was wary. As it turns out, the whole thing was really quite easy. There were no scarey, death-threatening parts. (I mostly try not to write here about the scarier stuff we try, but there is some. :)
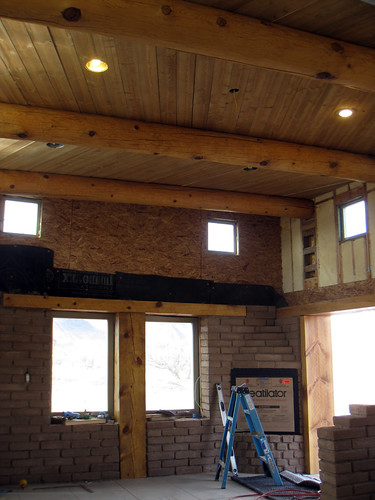
What we did is jack each side up a bit (e.g. 10 inches or so) and then put a header and trimmers (side studs) under it to secure it. Then we repeated on the other side, etc. etc. until the vigas were all the way up.
Of course, the vigas are quite high so we had to put the jack on the scaffolding at one end and on one of those big timbers at the other. Then we used a series of gradually taller 4x4s to reach the beam.


Quite clever. Good thinking, Brad.
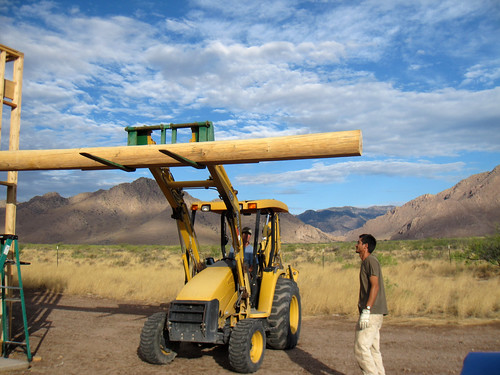
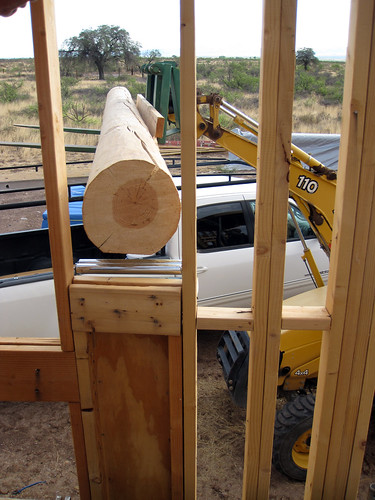
Today was the day when the big vigas went into the house.
We spent most of the day yesterday planning and preparing for this. In order to finish them, we are putting the vigas in at a lower height than they’ll eventually go (ultimately, they’ll be pressed against the top of the ceiling) . Then later we’ll jack them up to the top.
To get the vigas in, we planned to use a backhoe with forklifts to push the vigas into the side of the house. On the outside wall they’d go through, we’d built headers. We also built a box with rollers on top of it to help ease each viga in. (They are incredibly heavy.) The box was leveled on platforms we built for each of the five viga locations.


Once the ends of the vigas were pushed in, they’d sit on scaffolding in the middle of the house. We built a strong box on top of the scaffolding to hold the vigas.
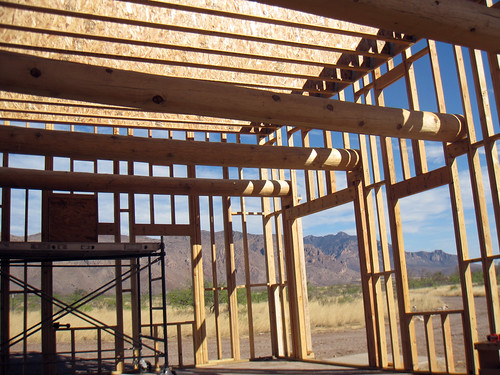
Once the vigas were on the scaffolding, we’d push them to the other side, where they’d rest on top of the glulam.
So that was the plan.
And amazingly enough, it went pretty much according to plan. Our worst case was that it might take 6 hours (with four of us and a backhoe). In fact, the whole thing was done in under 2 hours.
More pictures here. (slideshow version)
They look so beautiful. Next stop — a roof!
We went to two lumber yards in Albuquerque that supply vigas. (Vigas are the big wooden ceiling beams commonly used in southwestern adobe-style buildings.) We’ll have vigas in the large great room in our main house.
[Interesting sidenote: The one that had a beautiful web site and was the one I thought we’d use turned out not to be the one we liked. The other one was very service oriented, took a copy of our plans, and had a very reasonable quote emailed and faxed to us by the next day.]
It was interesting to see all the kinds of lumber and styles they do.

Vigas have been a budget item that I have worried about, but it turns out that they aren’t that expensive (about $4 or so a foot, depending on the size and style), even with delivery to our remote corner of the world. Now that I know the cost is reasonable, I am planning to use these as the vertical beams for our covered patio and carport as well.
We’re also going to be buying decking from this same source. These are planks of wood that are 1″ thick and 6″ side that form a plank-style ceiling. You can get them with a rough finish on one side and smooth on the other. We’ll get pine and stain them with a variety of effects for different rooms.
We also found out that the plans we have don’t have enough vigas spec’d to keep the decking from sagging. Glad we found that out beforehand. :) I’m actually happier with the look of more vigas anyway, and fortunately, it won’t add too much cost.