July, 2011

...now browsing by month


A River Runs Through It

Friday, July 29th, 2011

Yesterday, we got our first really big rain.

I was driving across NM in the afternoon and saw hail, torrential rain, and line after line of thunderstorms, punctuated occasionally by rainbows. By the time, I turned south off I-10, I felt like I was a part of Stormchasers crew heading into the eye of the storm.

It was the first time there was enough water that we didn’t think it was safe to drive the Mini down Sunrise, so I left it at the gate on 80.

While I was waiting for Brad to pick me up in the truck, I heard the oddest chorus of crying frogs. It sounded like I was deep in the rainforest. (And where are all these frogs when there is no rain?)

I got up this morning to go take a picture of the river running through the bottom of our driveway, but by then it was gone. It is amazing how fast the land here soaks up so much water.

Careful planning pays off

Wednesday, July 20th, 2011

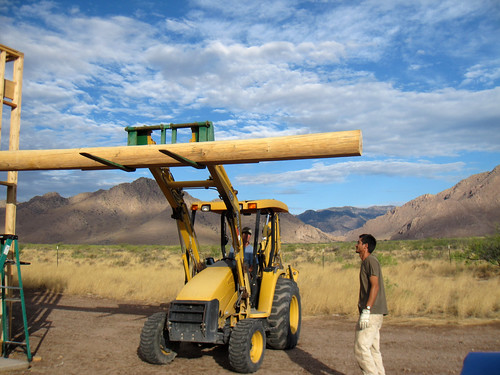
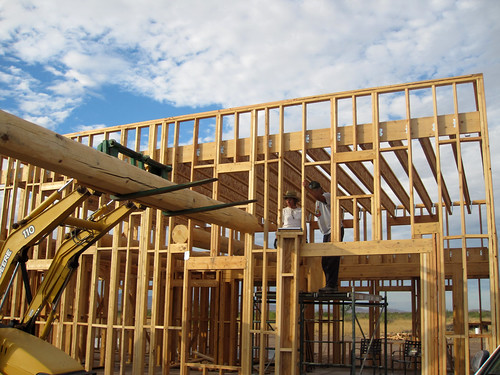
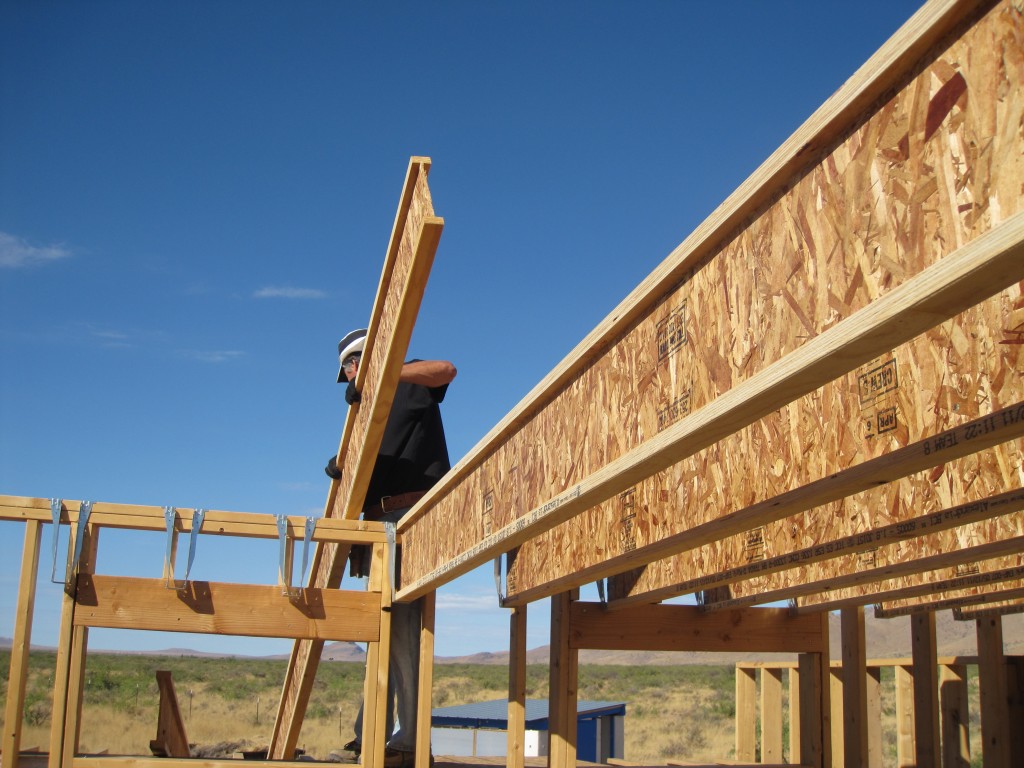
Today was the day when the big vigas went into the house.

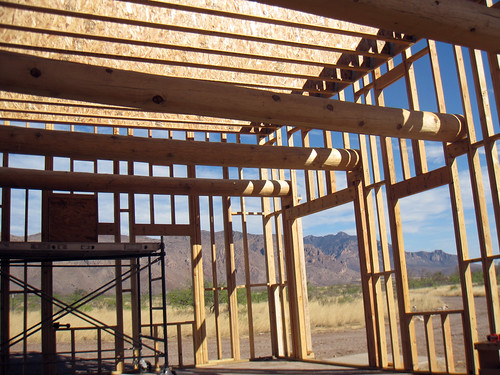
We spent most of the day yesterday planning and preparing for this. In order to finish them, we are putting the vigas in at a lower height than they’ll eventually go (ultimately, they’ll be pressed against the top of the ceiling) . Then later we’ll jack them up to the top.

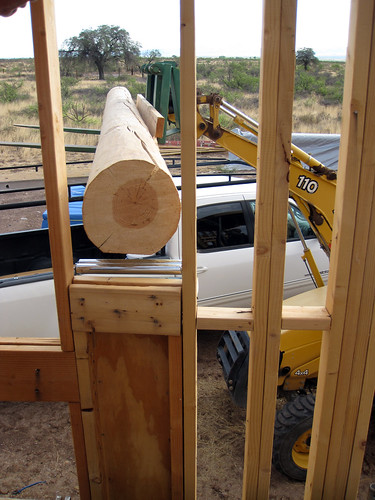
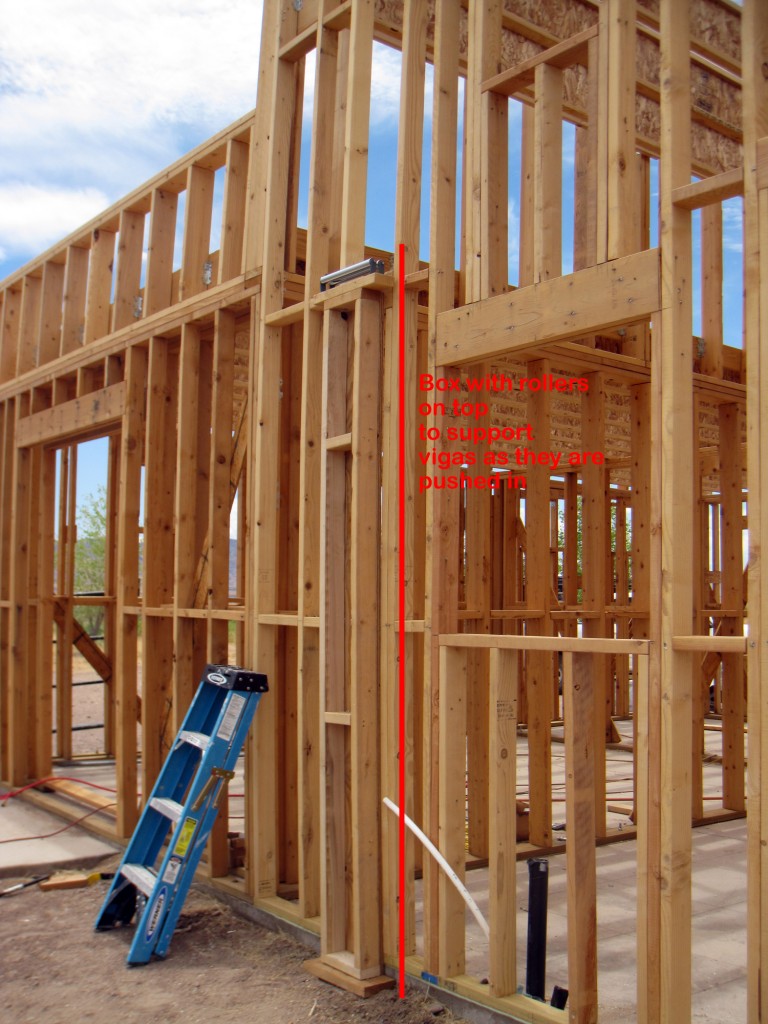
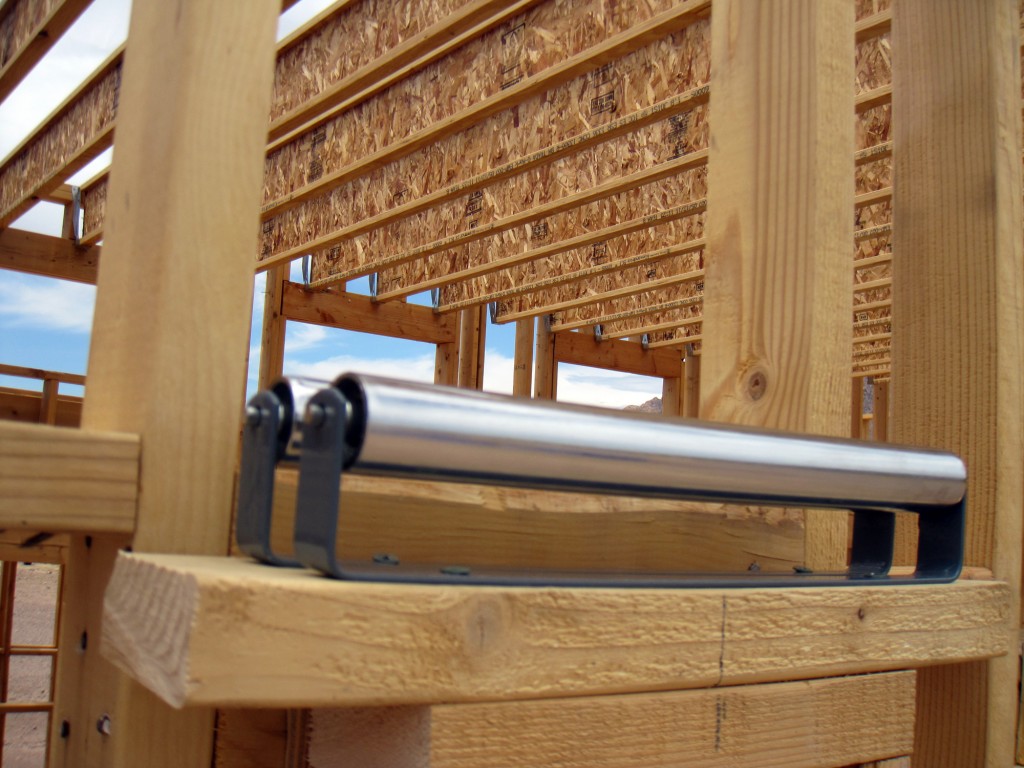
To get the vigas in, we planned to use a backhoe with forklifts to push the vigas into the side of the house. On the outside wall they’d go through, we’d built headers. We also built a box with rollers on top of it to help ease each viga in. (They are incredibly heavy.) The box was leveled on platforms we built for each of the five viga locations.

roller1

roller2

Once the ends of the vigas were pushed in, they’d sit on scaffolding in the middle of the house. We built a strong box on top of the scaffolding to hold the vigas.

Once the vigas were on the scaffolding, we’d push them to the other side, where they’d rest on top of the glulam.

So that was the plan.

And amazingly enough, it went pretty much according to plan. Our worst case was that it might take 6 hours (with four of us and a backhoe). In fact, the whole thing was done in under 2 hours.

More pictures here.  (slideshow version)

They look so beautiful. Next stop — a roof!

Weather

Tuesday, July 19th, 2011

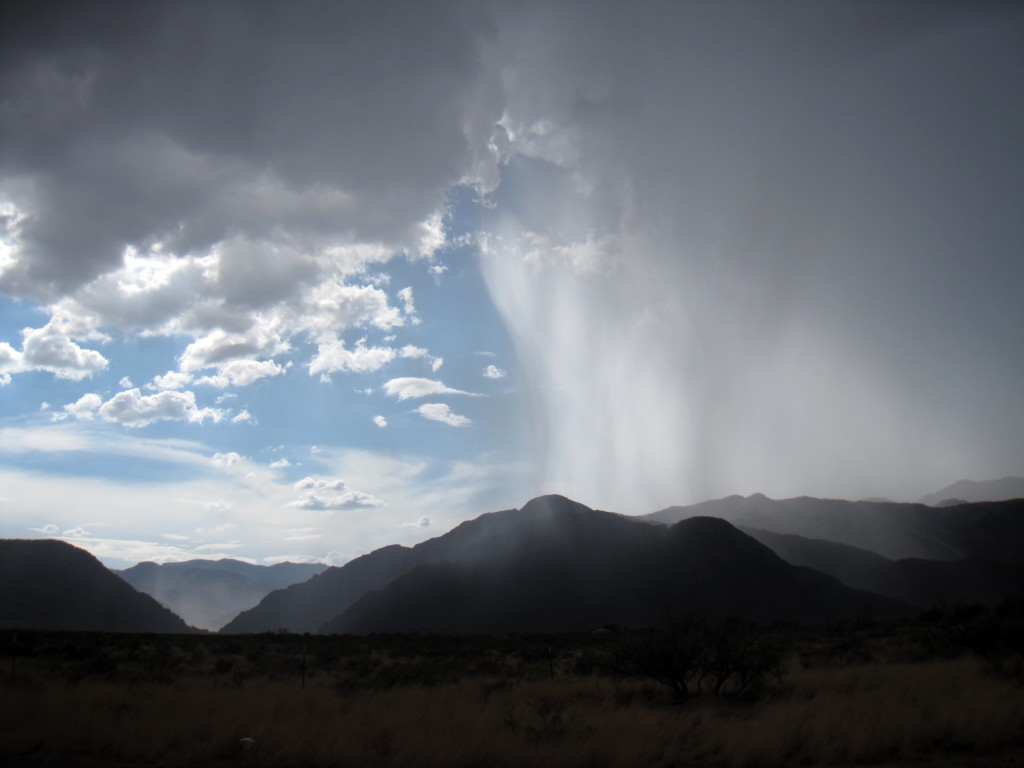
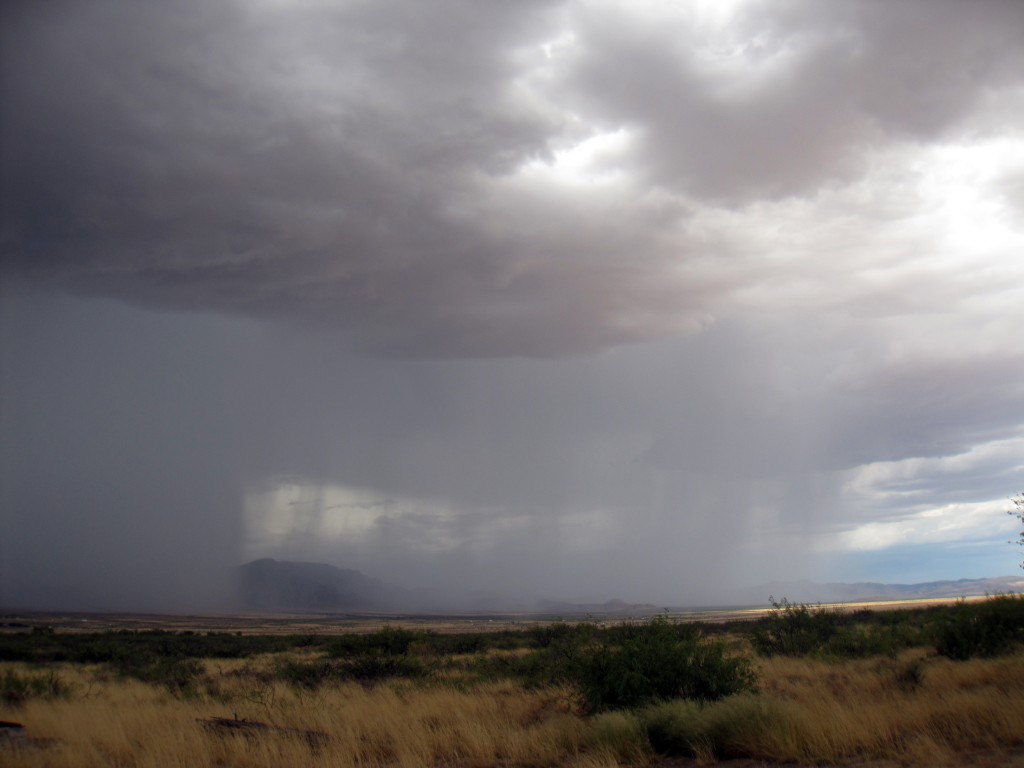
We do get some amazing weather here.

IMG_2135

IMG_2139

Right after this, the sky opened up. A few minutes later the sun came out. Still pouring though.

IMG_2140

Getting a better idea of what this will really look like

Thursday, July 14th, 2011

In our on-going quest to see how much work we can plow through in a short period of time, we got the last of the i-joists up today. These were on the high part of the roof in the big room.

We did the ledgers and hangers all yesterday, so the process today was cut the i-joists to fit, hoist them onto the roof, go up on both ends (Brad on the short roof, me on the scaffolding), lower the i-joist into the hangers, repeat, repeat. Afterward, we nailed a ton of brackets.

IMG_2096

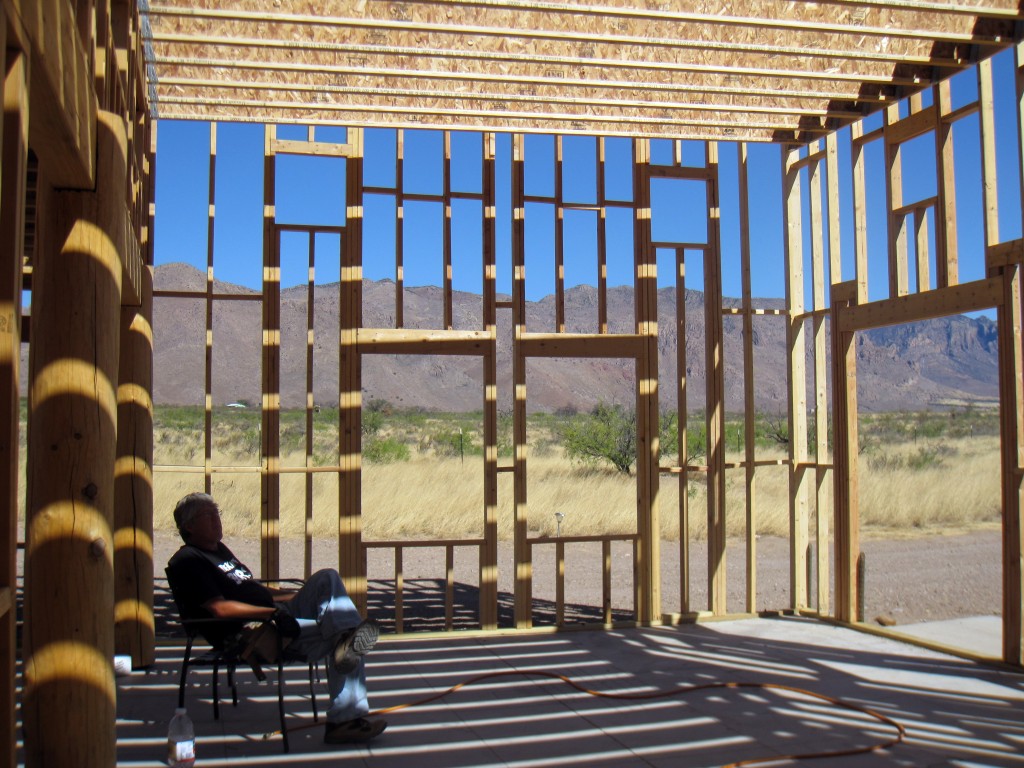
It really isn’t until you get the roof on that you can tell what a room is going to be like.

We’ve looked at drawings, 3D models, etc. of our house, but today we really saw what it will be like. Wow.

IMG_2114

Four walls

Monday, July 11th, 2011

Monsoon season has officially arrived, though we haven’t gotten more than a couple very brief showers, not really enough to even soak the ground, but still promising. The good news is that the evenings have finally started cooling off. Yesterday, we had a remarkable 40 degree span in temperatures (about 110 in the afternoon and then in the 60s in the evening). This makes for much better sleeping; nights in the 90s weren’t doing much for me. We’ve also had some lovely evening shows of thunder and lightning. Disturbing to the cows, but beautiful to us.

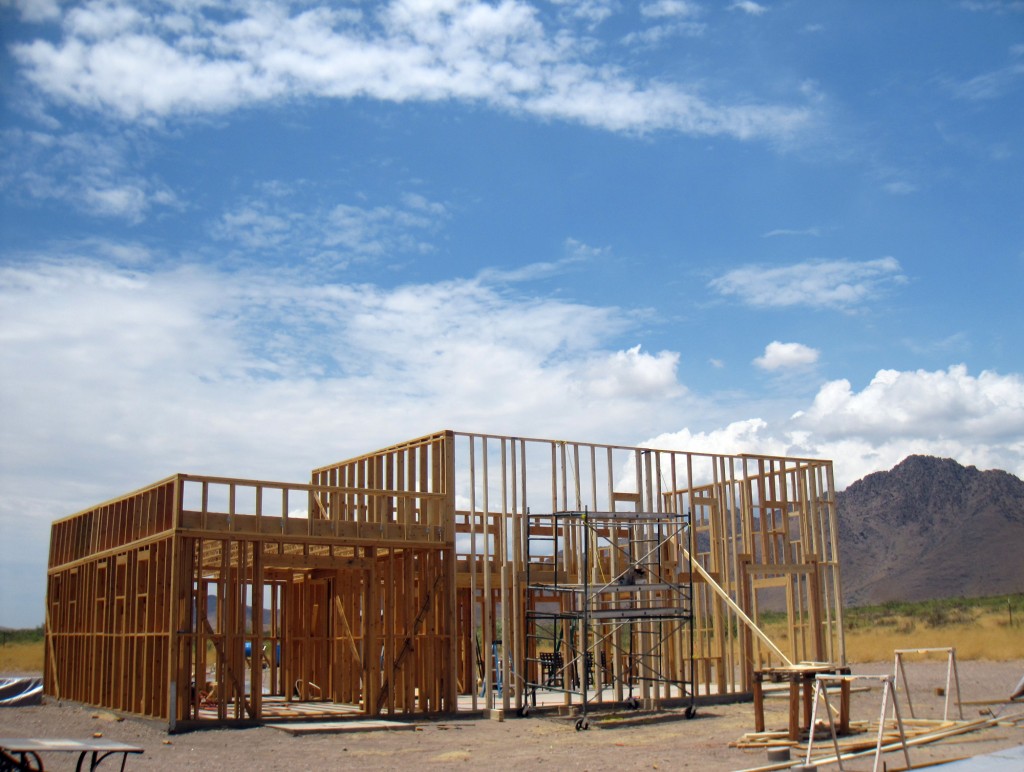
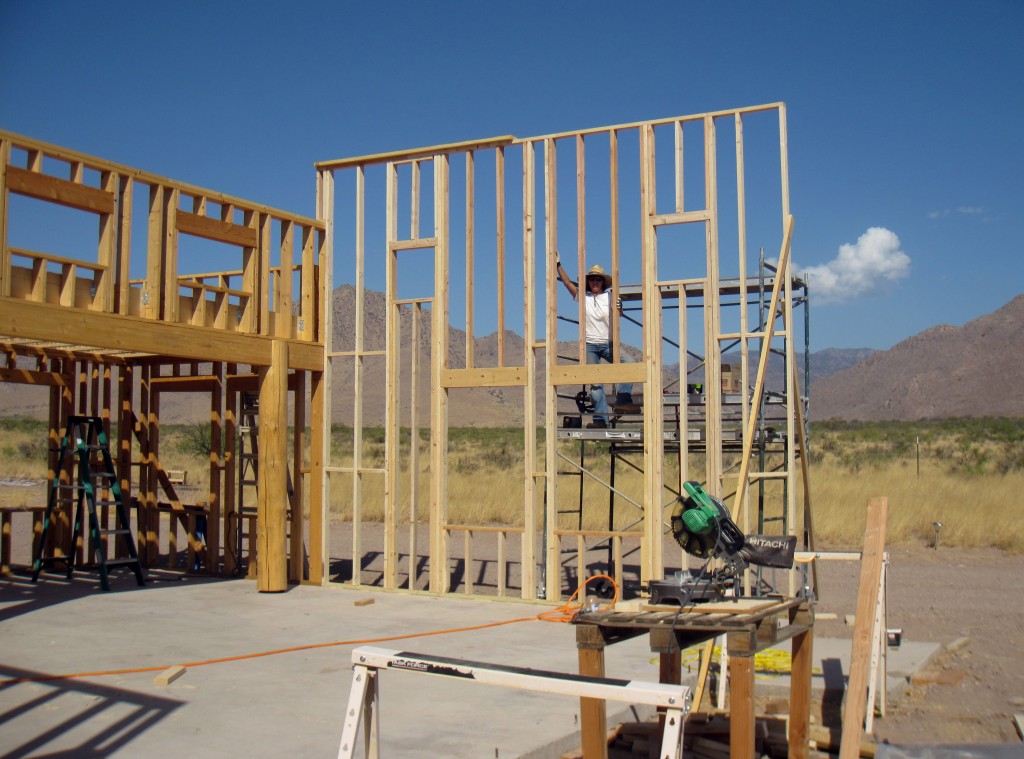
This week we’ve been working hard and now have all our exterior walls framed — including the very high ones, which we weren’t sure we could put up by ourselves.

We did.

fourwalls

The process went something like this. Brad stood on the ground and heaved the wall up. (For one particularly wide section, we both heaved from the ground and propped the wall up on ladders.)

proppedup

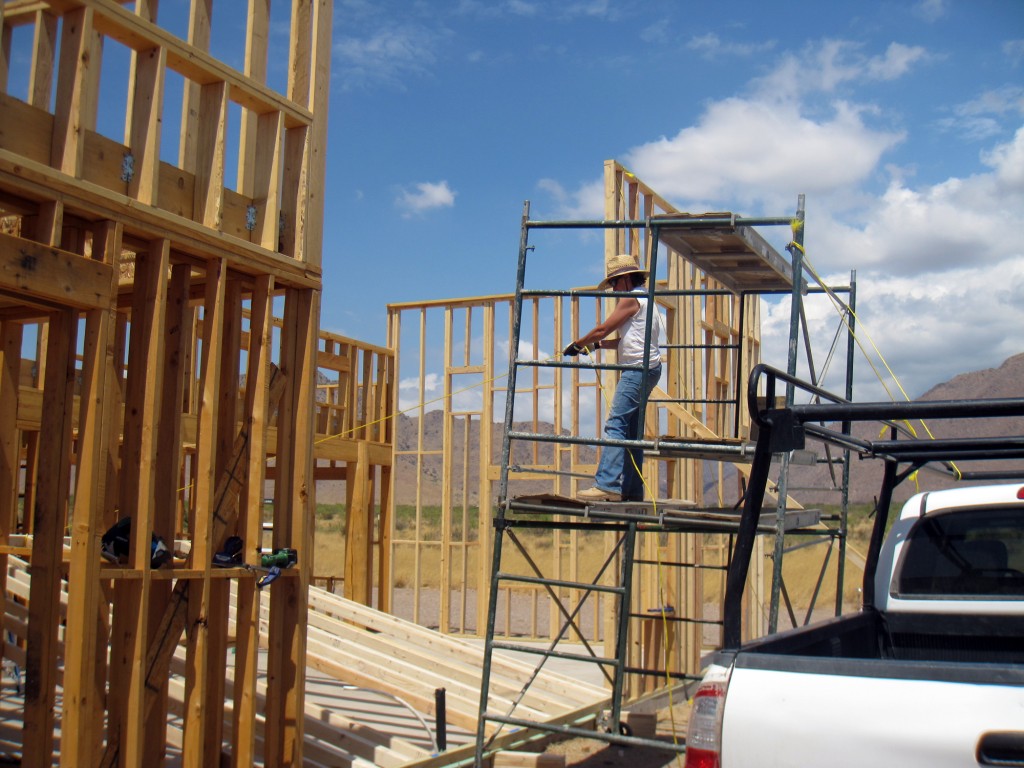
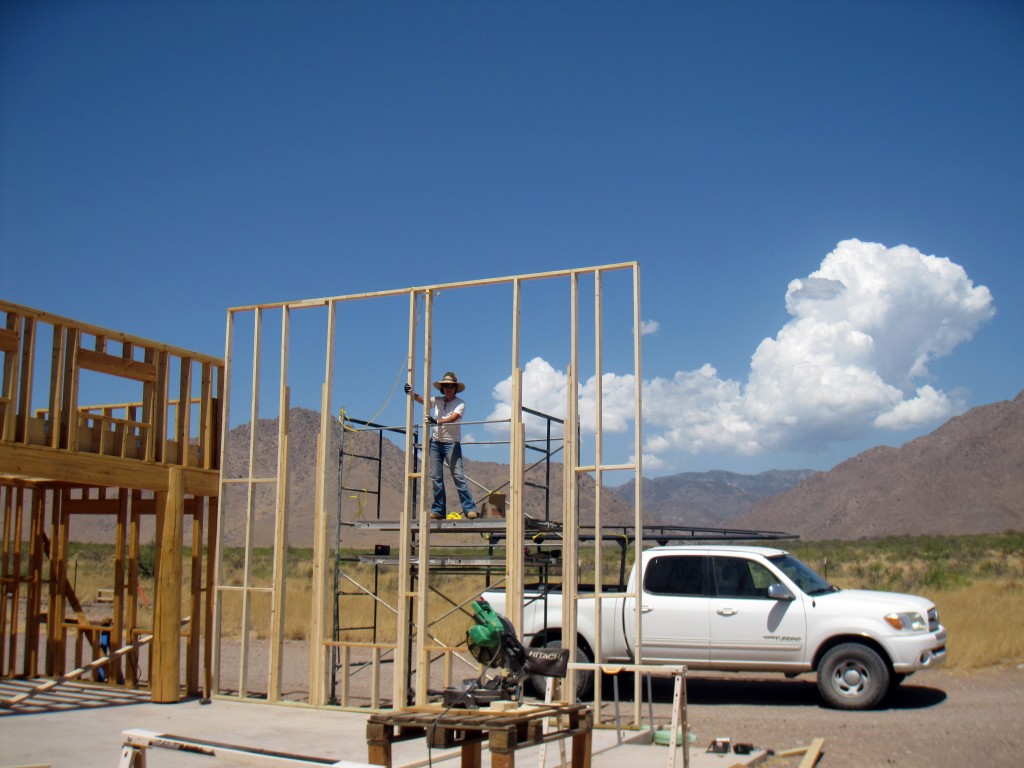
Then I stood on the scaffolding with a rope and pulled with all my might while Brad pushed the wall the rest of the way up. (For that particularly wide wall, we used two ropes.) The scaffolding was actually tied off to the truck so that it didn’t tip forward.

pull

Initially, we didn’t put in all the window framing and headers in order to keep the weight as light as possible. Then we added them in place later.

firstofthebigwalls-b4

Before extra framing

firstofthebigwalls-after

And the same wall segment after

Overall, it wasn’t as hard as we thought it would be. Most things aren’t.

Trouble on the solar horizon?

Thursday, July 7th, 2011

Our system has been running for a year and a half now without a single outage. I did finally order a generator. It’s not here yet, but it’s on its way. I was waiting for a reason to place the order; hoping not to cut the purchase too close – still hoping that. So, what prompted me to place the order? It was the second day ever that we failed to fully charge our battery bank.

The first day the batteries didn’t charge was not a surprise. It was a very cloudy day and the clouds started early. The second time was clear as a bell; there was not a cloud in sight. Hmmm. That’s odd. And a little scary to me. It’s summer. We’re are seeing some solar power production for 11 hours a day. The sweet spot is still before and after noon as always. How could this be?

I posted on a couple of forums that discuss solar power related topics asking what might cause this and got a lot of responses.  Many were useful, some were not. One that said to ignore the problem unless I actually run out of power I marked as not useful despite his being something called a super-moderator. Most people suggested different things that might cause this loss in power: lose or broken wiring, bad solar panels, faulty solar charging unit, poor alignment to the sun, dust in the air and dirt on the panels.

Before I get on to the debugging section, a bit about the problems debugging the system. Well- it’s a system. There are many parts from different companies. Everything they do is somehow tied together. If there were a problem with the batteries it could cause this problem. The solar charging controller uses all available power when bulk charging, but uses less as the batteries get full. This looks like the panels are producing less power, but it’s actually less being used.

I started at what seemed like the beginning to me. I tighten everything that could be tightened. I took apart every cover and found them all. That didn’t help. I washed the panels in plain water with a mop. I realigned the panels to the sun. It was a tiny change and didn’t seem worthwhile, but I would do anything to track this down.

At this point I was feeling like I had looked at everything that I might be responsible for. It was time to consider that the solar panels are bad or the solar charging unit is bad. (The solar charging unit was the least likely to me.) Maybe something really strange like one of the DC breakers was bad.

I did a close inspection of the solar panels and saw nothing interesting or odd. The description I heard from someone with bad panels was that the damage was obvious.

Next I started to test the panels as best I could. Each group of three panels are wired together (in series) and it’s not easy to test them individually. Still, I figured that testing each group would reveal something interesting. I mean, it’s unlikely that more than a few panels would be bad. This means one or two of the groups should show reduced power compared to the rest. I carefully turned off and on each breaker; measuring the power before and when it breaker was off. When I was done every group tested just the same. I tried this again except that this time I turned all the breakers off and then turned each one on and the off. Still no difference. The panels seem fine. Well that, or they are all equally bad.

Somewhere around this point in the debugging it hit me that it’s been really hot lately-much hotter than last year. I started to wonder if heat was playing a factor in this. A few people responded in the forums that high heat did reduce the effectiveness of solar panels.

I contacted Kyocera via email to ask about the problem. They were very helpful. And not just helpful, but they did not prejudge the situation or suggest they were not responsible. They asked me to test a few things. None of the tests found anything very interesting. The amount of power being produced was down to 1900 watts versus 2880, the all time high. I mentioned the extreme heat here to the Kyocera representative and they did some calculations. They were guessing a surface temperature of 150 F degrees based on the outside temperature. At 150F you can expect about a 25 percent loss in power. Assuming the power the panels are rated at: 2520 watts for the 12 panels, a 25 percent loss would put you at 1890. I’m seeing  little better than that. More evidence that it’s the heat is that when I sprayed the panels with water from a hose the power output went up 200 watts in just a few minutes. And best of all was a cloudy day. The sun was behind the clouds for a good half-hour and then it returned strong. The panels had clearly cooled down because I saw 2500+ watts for awhile before it gradually began to drop.

So no, there is not trouble on the solar horizon. The only issue is that I had planned on having more power than I do. Still, this happens in summer and the days are longer. Plus, the generator is on its way. (Just got a call and it should be here tomorrow.) And frankly, I don’t think we’ve ever really taxed the batteries.

The battery voltage drops fast once the sun is down. Until it doesn’t that is. Then it goes slow. And I suspect, slower and slower and maybe slower than that. I’ve never been inclined to really test how long the batteries will last without sun. It seemed too dangerous as the sun would certainly not shine the next day if I ran it all the way down. Once the generator is up and running, it might be time to find out.

It’s meant for drinking, not swimming

Tuesday, July 5th, 2011

I went out to water the garden this evening and look who showed up to take a dip in our animal watering hole.

turtle

This is our first turtle sighting of the year. And it hasn’t even rained yet.

Ebb and flow

Saturday, July 2nd, 2011

It’s weird how construction progresses. It seems like sometimes we work a lot and the progress is slow, and other times, things seem to leap ahead. That was today.

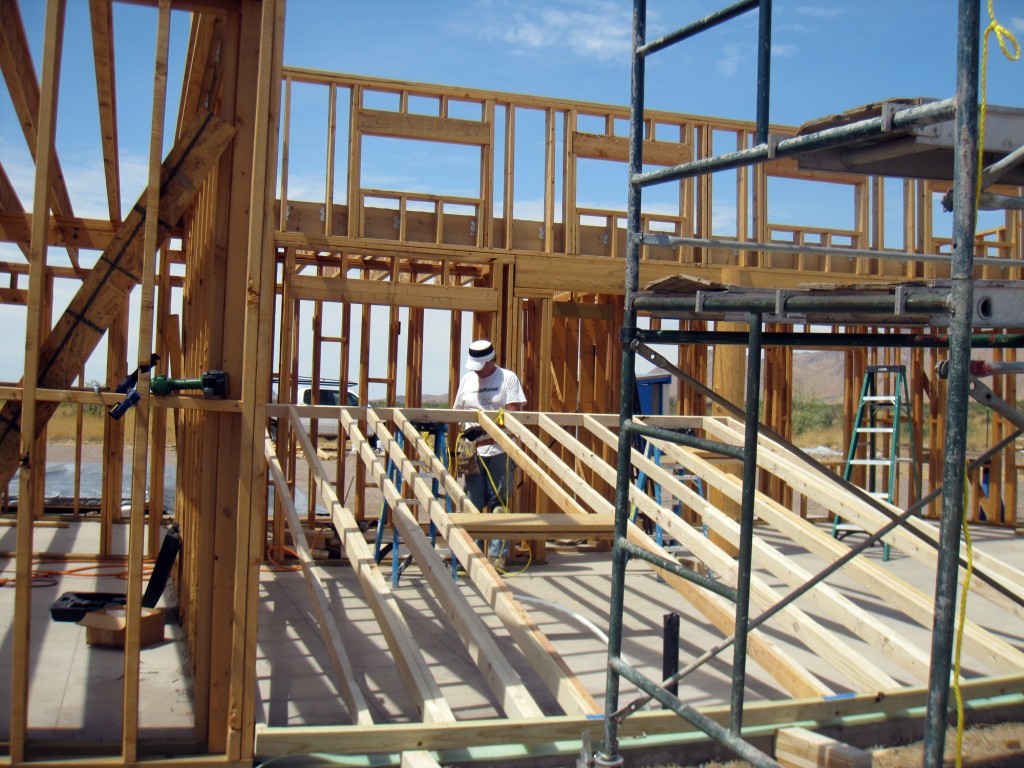
We got up at 5am to get some work in before the heat set in. By noon, we’d not only finished all the remaining parapet walls, but got the back half of the house’s i-joists (ceiling beams) in. Amazing.

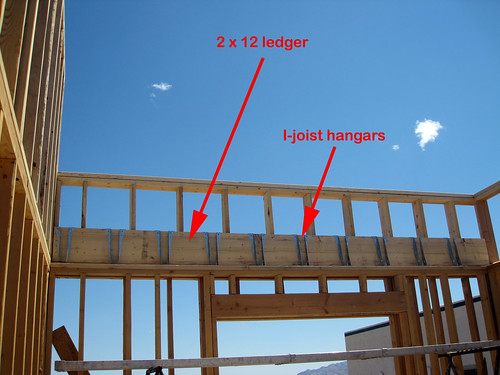
To put up the i-joists, we first had to hang  a 2×12 ledger board to which the hangers would attach. (Oh and before that, we had to move a gigantic stack of lumber. More fallout from the delivery without a bobtail.)

(Sorry about the misspelling in this photo; I’m too tired/lazy to fix it.)

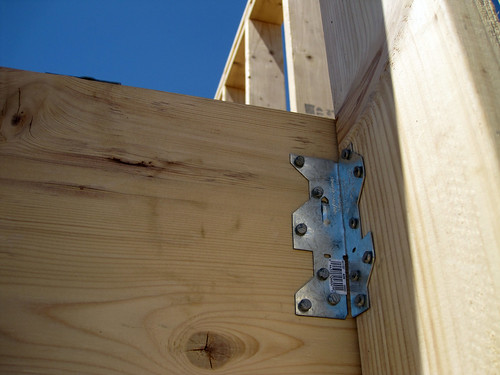
On the other side of the ledger, a bracket attaches to each stud to make sure it can carry the weight of the roof. Each bracket has 12 nails in it, and they’re at very difficult-to-get-to angles. Perfect work for the palm nailer!

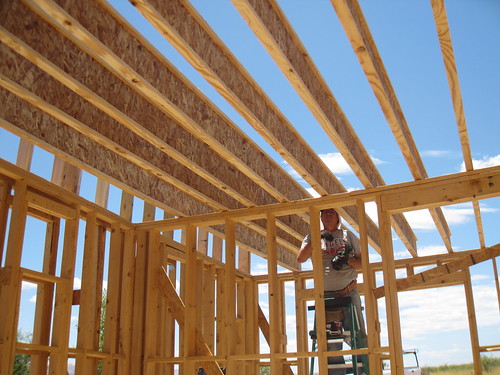
These are the long i-joists, running the whole width of the house, over our bedroom and the office/laundry.

Here’s the bedroom side. The high wall in the foreground is the back wall of the kitchen, which has (or will have, I guess) a high ceiling like the great room.