It’s been an interesting experience to have been immersed in our home building from design through actual construction (and, one day, living in it). For anyone in a business, I think that doing a variety of jobs throughout the enterprise is a great way to gain expertise, regardless of what job you want to do ultimately.
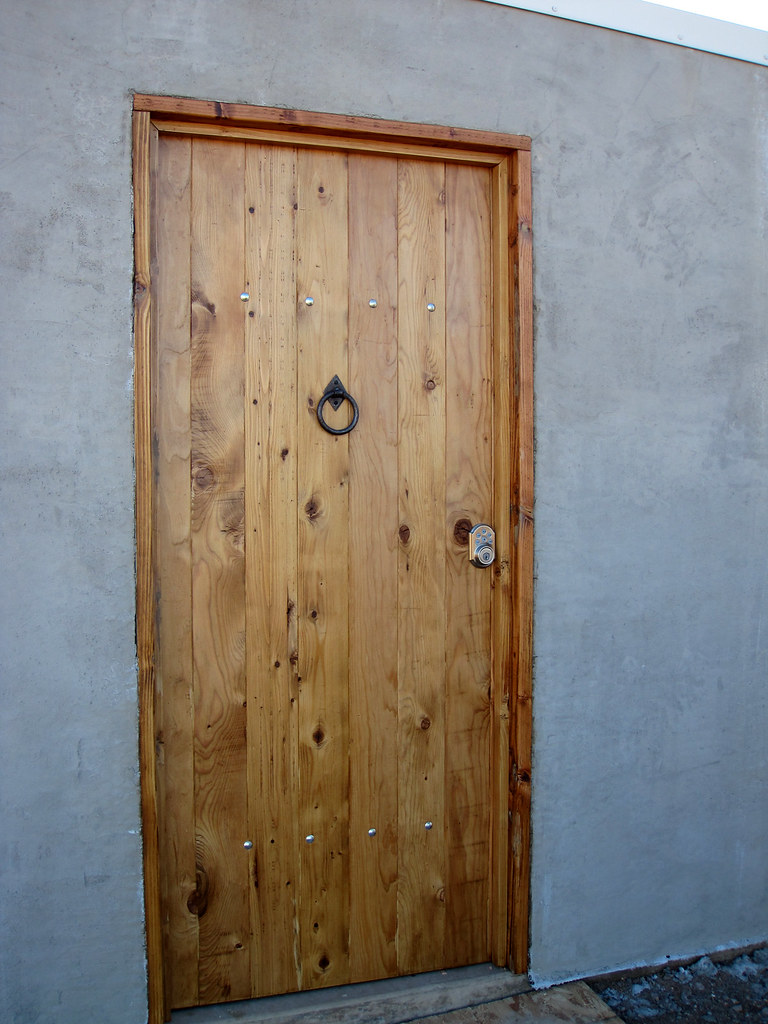
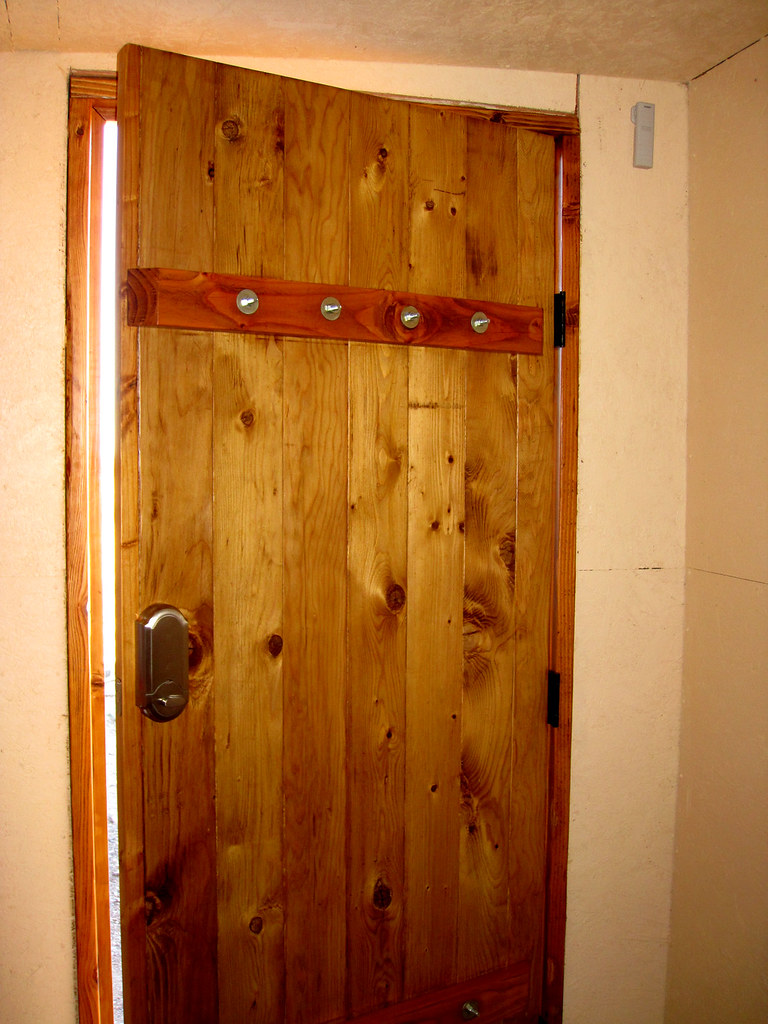
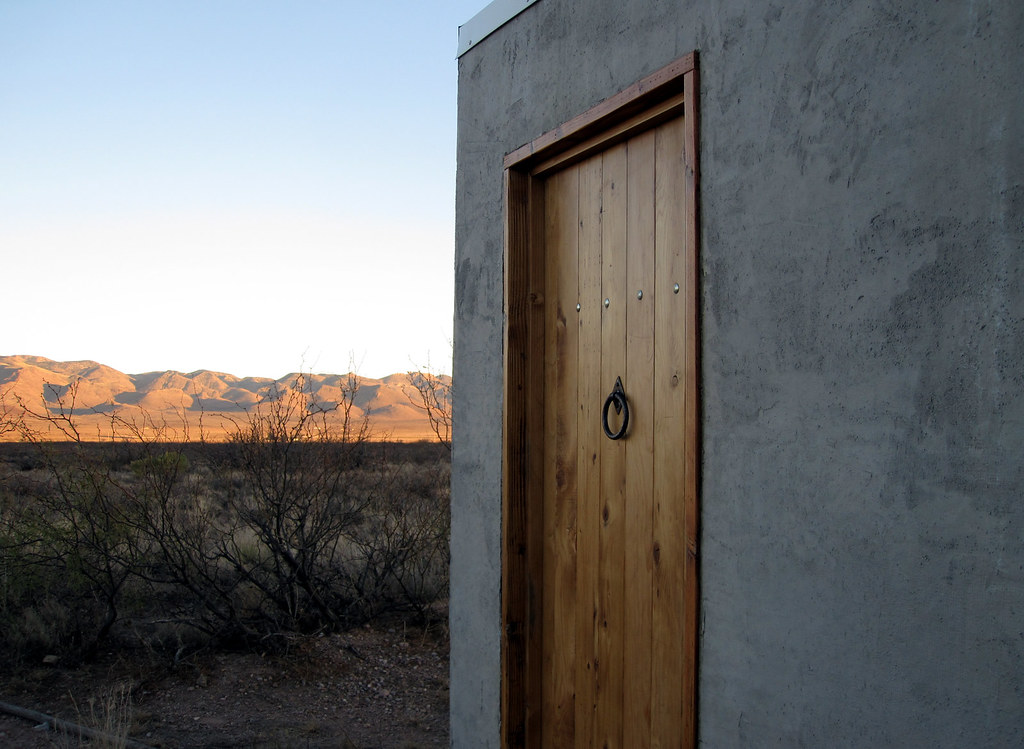
One example that has been interesting is our arched doorways. In the design phase, we really wanted to carry through some eclectic Moroccan-type design elements. The arched doorways were one easy and attractive way to do this. At the time, I didn’t really think of what would be involved in making them. (Brad may have; for me, everything was such an unknown that I didn’t single this out as different since I really didn’t know how to do anything.)
Of course, building them was another whole story. Just laying them out was challenging. Then stucco’ing them took a lot longer. And throughout, the risk loomed of messing them up and having them look horrible. (We have told ourselves on many occasions that there is nothing that can’t be ripped out and done again.)
Now that the one doorway is done though, it really looks great. I’m so glad we did it and am even looking forward to doing more. And I know that every one we do will be a little easier and a little better.