May, 2009

...now browsing by month


Vigas!

Thursday, May 7th, 2009

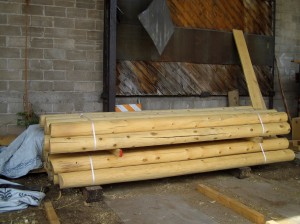
We went to two lumber yards in Albuquerque that supply vigas. (Vigas are the big wooden ceiling beams commonly used in southwestern adobe-style buildings.) We’ll have vigas in the large great room in our main house.

[Interesting sidenote: The one that had a beautiful web site and was the one I thought we’d use turned out not to be the one we liked. The other one was very service oriented, took a copy of our plans, and had a very reasonable quote emailed and faxed to us by the next day.]

It was interesting to see all the kinds of lumber and styles they do.

Vigas have been a budget item that I have worried about, but it turns out that they aren’t that expensive (about $4 or so a foot, depending on the size and style), even with delivery to our remote corner of the world. Now that I know the cost is reasonable, I am planning to use these as the vertical beams for our covered patio and carport as well.

We’re also going to be buying decking from this same source. These are planks of wood that are 1″ thick and 6″ side that form a plank-style ceiling. You can get them with a rough finish on one side and smooth on the other. We’ll get pine and stain them with a variety of effects for different rooms.

We also found out that the plans we have don’t have enough vigas spec’d to keep the decking from sagging. Glad we found that out beforehand. :) I’m actually happier with the look of more vigas anyway, and fortunately, it won’t add too much cost.

Playing with mud – part 2

Tuesday, May 5th, 2009

We sent to a great workshop on American Clay at Material Good in Silver City this weekend. (If you aren’t familiar with it, this is an interior wall treatment that is favored by green builders.) The workshop was put on by one of the company founders, Croft.

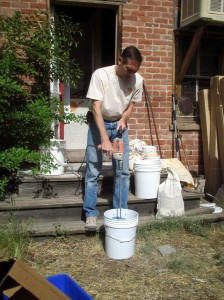
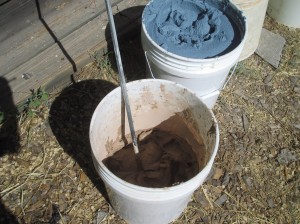
It started with how to mix the clay. The tool being used is a drill with a USG paddle.

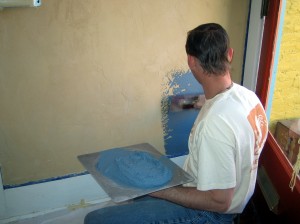
Then we learned the basic techniques. The main steps are: 1) apply a base coat, 2) apply a finish coat, and 3) compress. There is very little surface prep required, mostly just a primer. (Drywall needn’t be sanded, and in fact, sanding creates problems because of the dust.)

The best thing about American Clay is that it is very easy to work with. Effects can be created (and flaws can be fixed) by simply damp sponging or spraying the clay surface and reworking it. You can wet it down and rework it anytime, even years after it’s been put up.

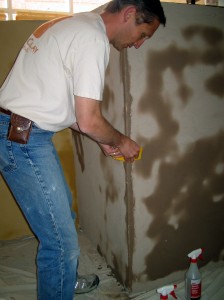
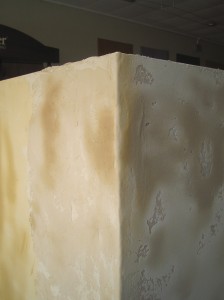
One unexpected benefit of this workshop for me was that I learned some things that I think will help me with my cement work. In particular, Croft showed us some great techniques for creating round corners (including using a trimmed plastic yogurt lid).

Here’s a corner I did:

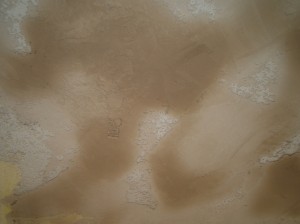
One finishing technique I really like the look of is skip troweling. Here is an example. (The color variation here is because the material is still drying. We did see some techniques for blending colors that were amazing. I think it would take some practice for me though.)

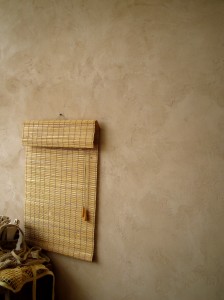
And a finished wall:

It will be awhile before we are ready to do this for our own house, but we really like this material and feel confident we could achieve nice results with it.

More pictures from the workshop are here for those interested.

Playing with mud – part 1

Sunday, May 3rd, 2009

We’ve started work in earnest on the greenhouse. The great thing about the cement work on this is that it is the same process we’ll be using on the exterior of the houses. This gives us a chance to practice techniques and also an opportunity to try out colors, etc. before committing on the house.

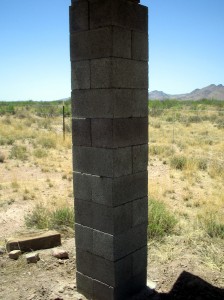
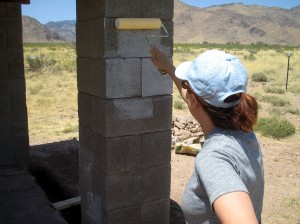
Here is a column before we started:

The first step was to prime the cement block that was there. (This is a part I’m very good at.)

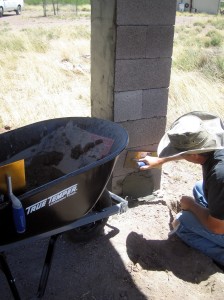
Then comes mixing the cement. Another part I’m good at. (It’s hard work though. I couldn’t help thinking how useful a couple big teenage boys would be.)

Then we spread the cement on. I’m very bad at this and find it extremely frustrating. Brad tells me I’ll get better at it. When I think of doing this over two whole houses, I want to cry.

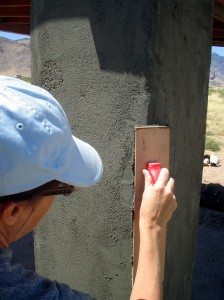
Then you float the surface and finish the corners. I can see getting good at this.

The last step will be a finish coat stucco. We’re looking at colors now.

The sound of silence

Sunday, May 3rd, 2009

We were in Albuquerque last week and Silver City this weekend, attending the American Clay workshop. (More on that to come.) In Silver City, we stayed at a little hotel right on the main street….which normally would have been very nice, but wasn’t this weekend. The Tour of Gila bicycle race (with none other than Lance Armstrong) was in town, making it a real zoo.

Friday night, there was a lot of activity around town, including at a very loud bar directly across the street and down from our hotel room. Everyone was partying loudly until 2am. And every 20 minutes or so, an deafeningly loud bunch of motorcycles would come racing down the street, each time setting off all the car alarms.

Needless to say, we didn’t sleep much.

Then at about 5am, they started setting up for the race. Unloading metal barriers, rolling out stacks of tires, shouting instructions at each other. I guessed these were not the same people at the bar the night before.

When we got home last night, we sat out on the porch for a bit before going to bed. It was so quiet, you couldn’t hear anything but a slight breeze.  It was so nice to be back in the solitude of home.