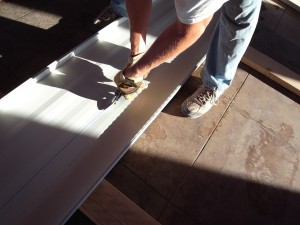
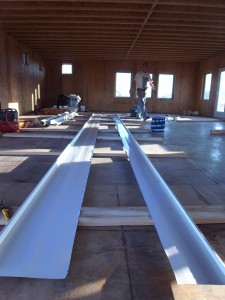
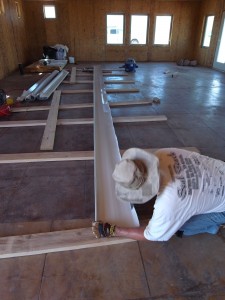
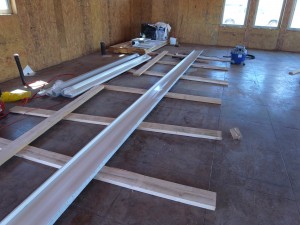
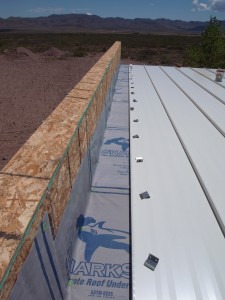
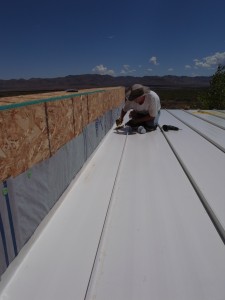
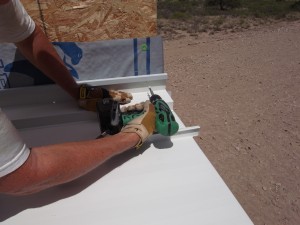
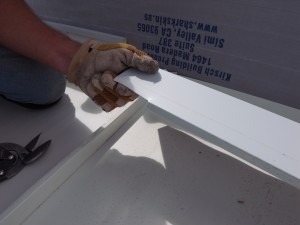
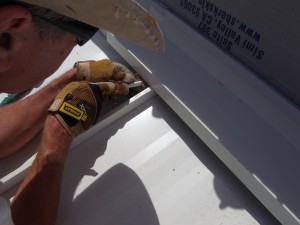
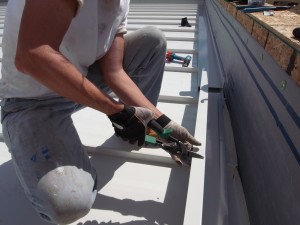
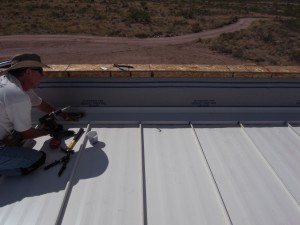
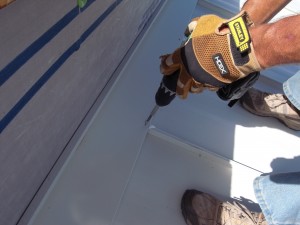
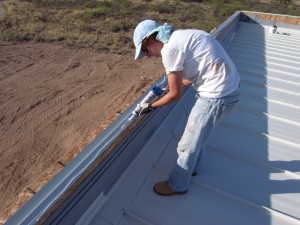
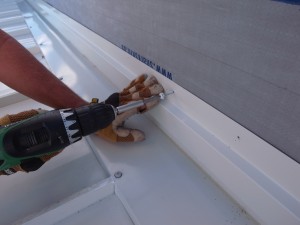
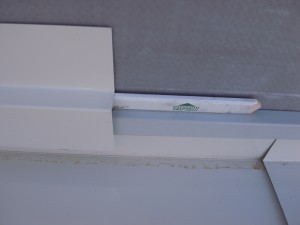
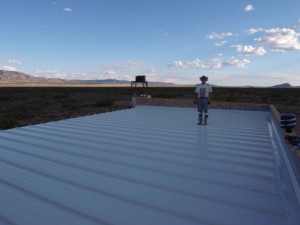
I have put it off long enough, it’s time for the last panel. Our last piece needs to be cut to 10 inches wide… the entire length. (Before we did this, we went to the roof and measured and remeasured. We even cut a sample piece and tried it. You really don’t want to do this wrong.) We considered all possible ways to do this. Using a skillsaw (with the blade in backwards) was a way recommended to us. The sound was unbearable (Yes, we tested it.) and more importantly, I didn’t feel I could keep a straight line. We thought about using our sawzall, but again I was not sure I could get a clean cut. In the end we just used our trusty tin snips. There was a lot of sweat involved, but we ended up with a nice clean edge.
Prepping the last panel
We had to do this without the tools from Mastercraft Metals because this piece was too narrow for them to fit. To be clear, we still had the tools, and we used them, but not in the ways they were intended. I put on my MacGyver thinking cap and I came up with a good way to build the box end.
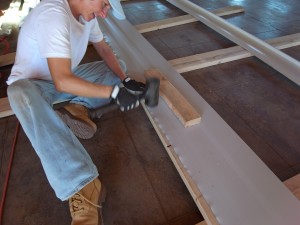
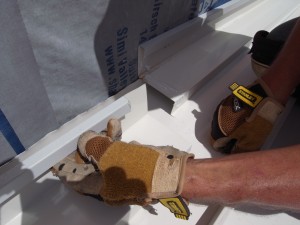
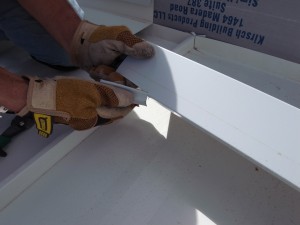
Now things get tricky. The entire length of this piece needs to have the cut edge bent up at ninety degrees much like the pre-fabbed pieces did. We used the tool for forming the box edge all along this edge to do this. Note that you can’t just bend it up to ninety all at once. You have to do it a little at a time down the entire length and then go back again. This was very hard work. Karen would pound the tool with a hammer toward the next position while I pulled as hard as I could. Then we would reseat the tool and bend… repeat, repeat, repeat.
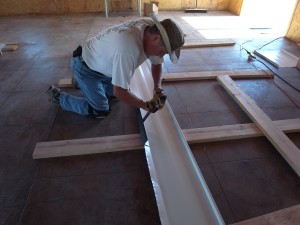
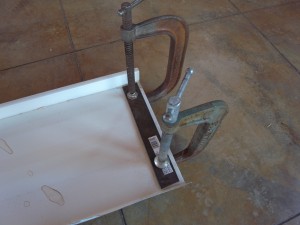
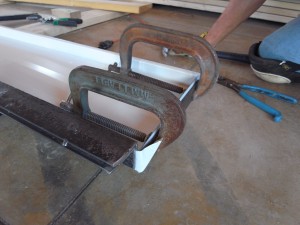
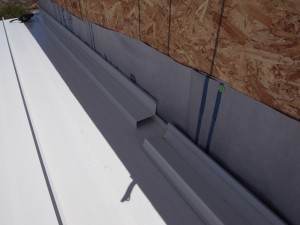
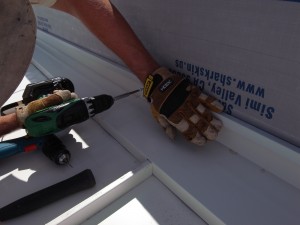
On to the next problem. How to build the box end without the handy-dandy tool for making box ends? Our neighbour Bill lent me two clamps and a piece of steel that he said was ok to cut. I cut it such that two pieces would fit inside our custom panel. I clamped them to the panel and folded it just like the tool would have done. Karen was even able to hammer the corners flat against it.
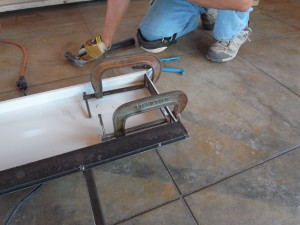
It worked like a charm, but note that we used the tool to strengthen the new edge while we made the bend
I don’t have a picture of it, but we were able to use the standard tool on the front edge. It fit fine once we made the normal half-inch cuts.
Wow, we never thought this last panel would come out so good.
Installing the last panel
There were a few tricky things about this, but nothing too bad. You can’t use the 1×2 boards for obvious reasons. We kind of hooked it on the previous panel and flipped it in place. We were lucky that our panel was wide enough that we could use the crimping tool just the way we did on the other panels.
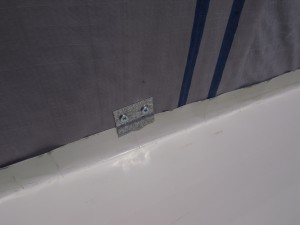
We were warned that this last piece could rattle in the wind. Without the edge the panels normally have, the trim won’t really hold that edge down tight. Instead, we customized the clips a little and screwed them to the parapet and that held the panel down very securely.
Installing the trim
It had already been a long day, but we decided to push on through and finish the job. The trim went on easily, but like everything on this roof, it took time and it made us tired.
The trim is divided into two parts, the parallel and the perpendicular. The first runs parallel to the panel seams and the other runs perpendicular. As with all things roof related, you start at the bottom and go up. Therefore, the parallel trim goes first; the perpendicular is last.
There was little customizing required to install the parallel trim. It came in 10 foot pieces. Where they joined, you make a little cut so they can overlap three or four inches.
(One thing to check before starting this is whether the trim is covered with a film of protective covering. Ours were — but we didn’t see it until later after it was installed. This stuff would have been a lot easier to strip off before it was screwed down.)
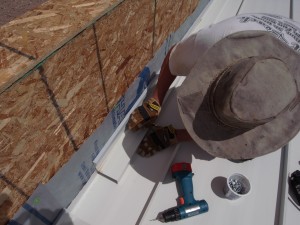
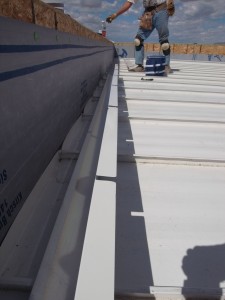
You can see that without an edge to hold up the trim on the customized last panel, you need to hold the trim even with the top edge while you screw it down
The perpendicular trim needed a little more customizing. It needed to be cut to fit over the parallel trim in each corner. It also needed to be cut to fit over each of the standing seams.
Stucco Stop
Because we have parapet walls and we are going to stucco, we also have stucco stop. It’s just a piece of trim that we stucco up to. It’s designed so that if water gets behind the stucco, it will run down the underlayment and drip on the to roof. Cool.
I guessed we skipped a few things… like, the way the stucco stop fits at the corners. I’m sure there were more. The main thing is that when I searched the web hoping to read about how to do this, I couldn’t find anything… at least nothing where parapet walls were involved. We’re just hoping this will be helpful to others. Since we have only worked with a roof from Mastercraft Metals, we really have no idea how generally applicable this guide is. As always, use your head.
Finished
It took us several long days, three I think, to install about 1200 square feet of roof. At the finish, we were ready for a break. We are very happy with the results. We have had a few rains since then and no leaking. Which is nice because the water that leaks through your roof is especially disgusting.

