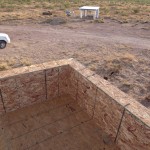
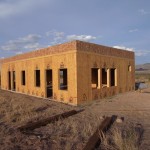
Building the parapet walls has been fun and not too challenging. The biggest concern was getting them attached in such a way that they won’t blow away later. The winds here can be intense.
Framing
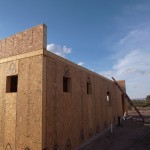
The only issue with the framing was on the slope walls. You need to keep it straight in your mind that the studs run perpendicular to the top, not the bottom; it’s on a slope. On a slope this small, it’s seems unimportant, but when you go to attach the OSB, you won’t end cleanly on a stud if you do it wrong.
Erecting and Attaching
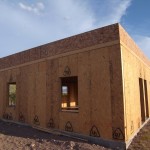
Standing up the walls and positioning them was easy. (2×6 walls are night-and-day easier than 2×4 walls in this regard.) Screwing down the walls was a little harder. We used ten inch long screws that go clear through the SIPS panels and into the 2×6 header on top of the walls. Karen pre-drilled holes for me. We have what I thought was a pretty big drill to do the job and it barely did the job. We had more than enough screws and used them all. I also had a lot of extra eight inch screws that I set into the 2×6’s framed into the sides of the roof SIPs. It’s very sturdy.
Covering
The whole thing was covered in OSB*. This went fast. A large part of the reason it went fast is that we are the proud owners of a used Bostitch stapler. (Putting up our SIPs walls resulted in our having a box of 1/2 inch wide by two inches long staples seven-eights full–ebay to the rescue.) The stapler made short work of attaching the OSB to the walls. (Karen did most of the stapling.) Cutting the OSB to fit was the most work.
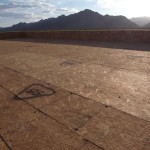
One special touch designed to prevent leaking is that we put a one-half inch in six inches slope on top of the parapet walls. Six inches is not a lot of room for standing water, but we’re just making sure.
* Oriented Strand Board: A decking made from wood chips and lamination glues.
-
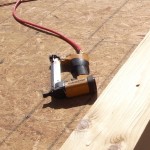
- Our new staple gun
-
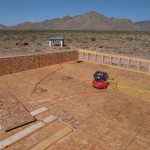
- In progress
-
- working on a stormy evening
-
- A simple miter cut at the corner.
-
- finished from the back
-
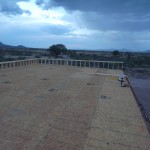
- finished
-
- view from the north
-
- view from the south