soycrete

...now browsing by tag


Floors

Tuesday, October 18th, 2011

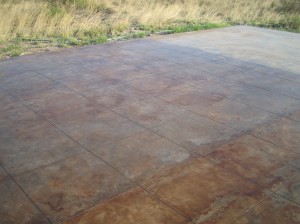
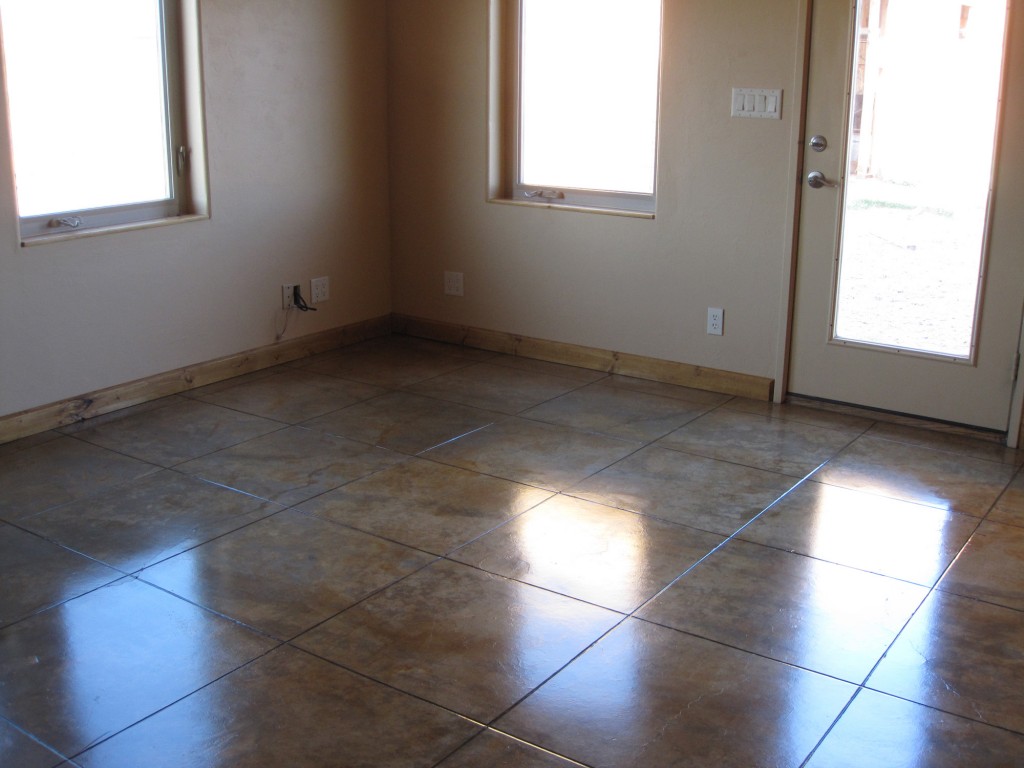
We love our stained concrete floors, and they seem to be the envy of almost everyone who comes over.

Over the 18 months or so that we’ve lived in the guesthouse though, the floors have worn a bit. The finish coat is wearing thin in spots, and under my office chair, even the stain seemed to have worn off. (We thought is was permanent.)

In researching this, we found out that the finish we used (Polysoy) is no longer the recommended finish. Now there is a new permeating finish Acrisoy. However, Acrisoy can only be used on freshly stained concrete, never over another finish.

But there is also a new coating called Ecofloorz, so we decided to try that.

The spot under the chair really looked bad, pretty much like raw gray concrete, so we decided to try restaining it again with Soycrete first. The results were nothing short of miraculous. The stain took great, and now you can’t even see where the worn spot was.

We are very happy with the new finish with Ecofloorz as well. It’s glossier than the old finish, but not too much so. I’m sure it will wear much better.
floors

Some finishing details

Monday, May 17th, 2010

One of the few sad parts of the construction process has been what it did to our (formerly) beautiful floors. This weekend, as we finished the back two rooms, Brad scrubbed the floors and put on another couple coats of sealer. Presto! Our beautiful floors are back!

I’m also really happy with how the cove came out. We fussed over it a lot. I’ll write more about how we ended up doing it in a couple weeks when I have time.

Tonight, we made a trip to Willcox to get some of our furniture out of storage. Very exciting!

And look who was back in our oak tree this week. All grown up now! (Baby pics here in case you missed them last year.)

Eight hands are better than four

Wednesday, July 8th, 2009

We are getting some good work done this week. Here is the progress report:

  • The septic rework is done.
  • The panels are due here Mon., July 13.
  • IJoists, lumber, and other supplies should be delivered early next week.
  • The floors are finished.
  • The slab has been trimmed, and the sill is going in today.
  • The driveway has been mostly moved to accommodate the new house.
  • The greenhouse is making significant progress and should be done by week’s end.
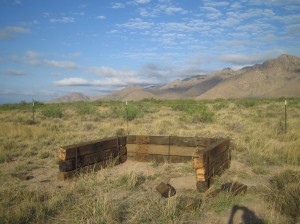
  • We’ve built a holding pen for cleared brush next to the composter.

We’ve worked out a schedule for while the boys are here that includes all four of us getting to the property by 6:30 or so (thankfully, Brad has taken the task of getting them up) and working until 9:30 or 10 (while it’s still cool). Then Brad runs me home to do my “other job,” and then he and the boys come home around noon or so. After some rest, Brad and I have been going back to the property to do a little more work from about 6 until dark, weather permitting.

I can’t wait until the panels get here. Then we’ll really be moving along.

The slab becomes a floor

Sunday, June 21st, 2009

As much as things went badly yesterday, today they went splendidly.

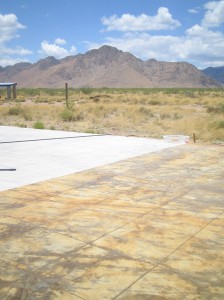
We got up 5 again to stain, and today the weather was clear. We set out to the property and began work. I’ll let the pictures and movies tell the story. (One minor sidenote: The rain seems to have brought up some of the Quikrete. We had to scrape and wash down the slab *again*. So Quikrete wasn’t the perfect crack patcher either. Maybe there isn’t one. Anyway, it’s good enough.)

[coolplayer width=”600″ height=”400″ autoplay=”0″ loop=”0″ charset=”utf-8″ download=”1″ mediatype=””]
Staining the Slab
[/coolplayer]

(The color on the movie is a bit dark and orange. This picture shows the actual color.)

More pictures are here.

We just love Soycrete. It was so easy to work with and gave beautiful results.

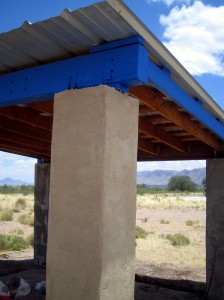
We also did the final stucco coat on the greenhouse columns. This came out really nice too. For me, a lot of this was a practice run for the house. The color turned out really nice, and I would definitely use something similar for the house. (We will be going with a slightly different stucco, one that is plasticized, which we discovered since we bought this first batch, helps prevent cracking).

I finished the stucco two different ways. The first was more of a rough finish. The second was smoother (achieved by misting and sponge troweling it pretty aggressively). While we liked both, I think we’ll probably go with the smoother look. We may do either a different texture or even color on the “architectural details.” (Those are the parts of the exterior walls that stick out a bit to look more interesting.)