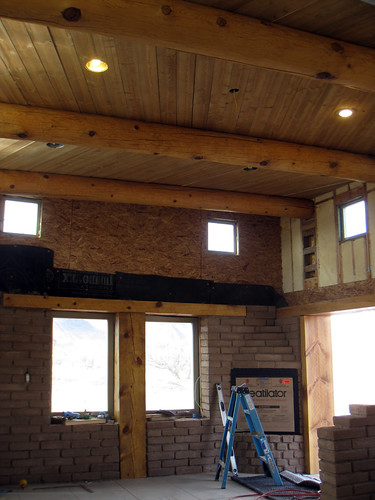
Here’s a picture that shows the clerestory windows….

And this shows the whole height of the room (main entry in bottom right corner)…
Two more to go!

Here’s a picture that shows the clerestory windows….
And this shows the whole height of the room (main entry in bottom right corner)…
Two more to go!
#2 accomplishment for this week: we got the first viga up!
It’s always hard to imagine exactly how this stuff will look when it’s finally done.

You might remember that these large timbers have been sitting about five feet or so below the ceiling for the past 5 months. Now with the ceiling getting finished, it’s time to put them up. (And all of this needed to happen before adobe brick could go much higher, since the brick will sit under one end of the viga.)
We’ve both been worrying about this step quite a lot, me especially. The vigas are quite heavy — too heavy even for both of us to lift one end. Brad devised a way to jack these up into place, but I was wary. As it turns out, the whole thing was really quite easy. There were no scarey, death-threatening parts. (I mostly try not to write here about the scarier stuff we try, but there is some. :)
What we did is jack each side up a bit (e.g. 10 inches or so) and then put a header and trimmers (side studs) under it to secure it. Then we repeated on the other side, etc. etc. until the vigas were all the way up.
Of course, the vigas are quite high so we had to put the jack on the scaffolding at one end and on one of those big timbers at the other. Then we used a series of gradually taller 4x4s to reach the beam.


Quite clever. Good thinking, Brad.
We have had an eventful couple of days, construction-wise.
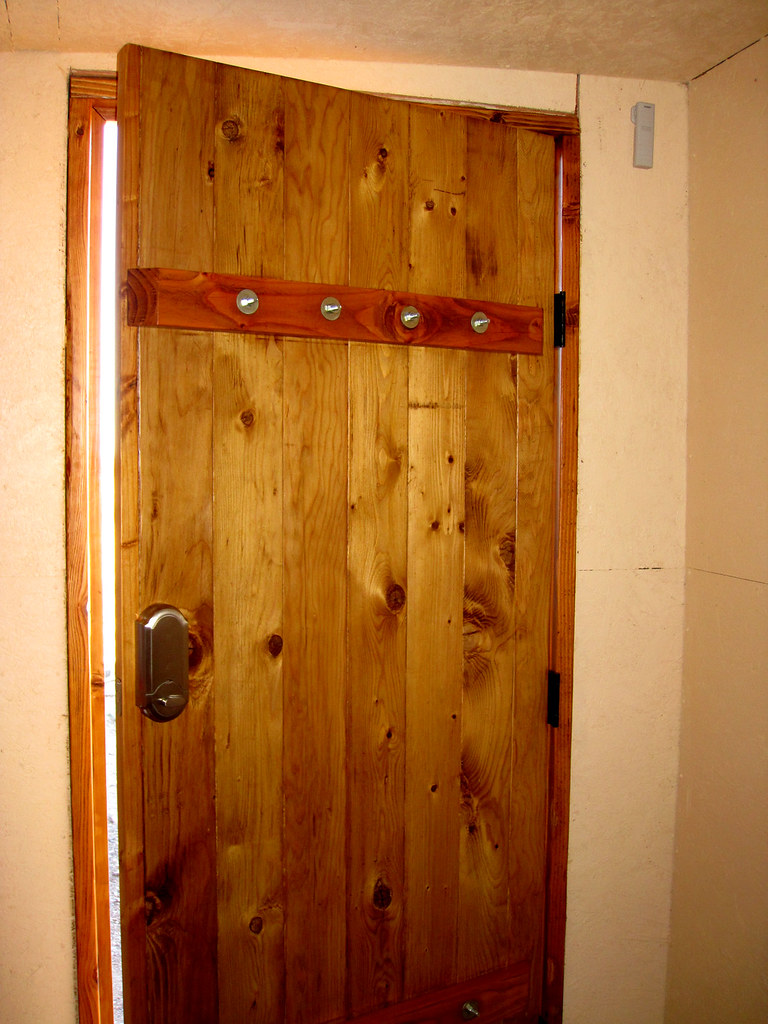
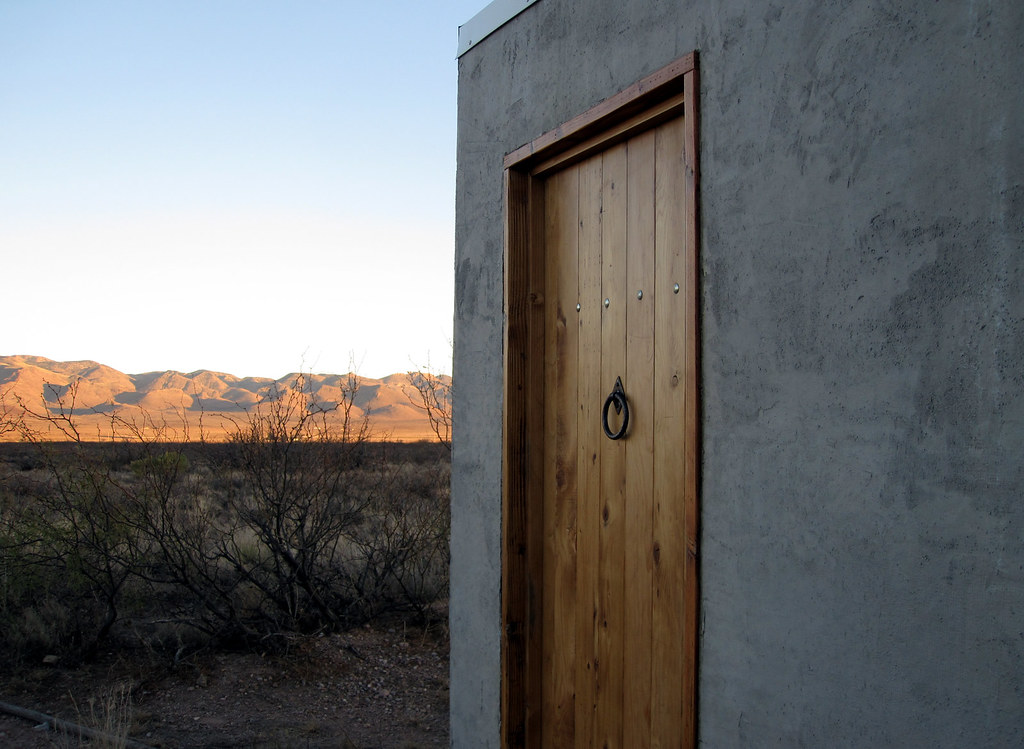
First, after months of work, we have the first set of doors complete and up!

It was a lot of work to build these, but I couldn’t be happier with the results!
All the steps to put these together are already fading into memory, but here are some pictures and notes from the process.
The Ponderosa pine was sourced locally through a sawmill up in the Gila Forest near Silver City. They let let us handpick all these boards and centerlined the boards to make the widths precise and the edges square.
After we cut the boards, we routed a groove out of each edge. Into this groove would be glued a piece of plywood to add strength to the joints. (This sounds easier than it was. It took a lot of testing and fiddling.) These are the smaller sections that go above and below the glass.

Then we glued in the plywood and put the parts together with pipe clamps. More weeks worth of work.

This is a door after it was glued (but not yet trimmed to size).

After this, Brad did a rough trim on the doors and then began hanging them. This involved many rounds of putting them up, trimming them, putting them back up, etc.
When they were finally perfect, I finished them. This involved the same 10 rounds of stain, sealer, and finish that we did on other timbers. There are many other details I’m leaving out like cutting the stop, but you get the idea.
There is one more set of doors to do, but they are already built and assembled so they just need to be hung and finished.
I think I’ll leave the other major feat of the week for another post. Until then.
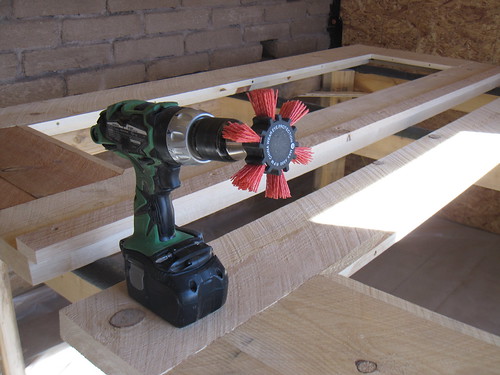
I’ve been doing a lot of woodworking with rough finish wood. It’s nice to work with because it’s rough and meant to be “imperfect,” but you can’t really sand out any problems that you don’t want to show in the final piece. I found a great new tool to use on rough lumber though. It’s basically a hard nylon brush that goes on a drill. It works great for getting out black marks and smoothing out (in a rough way) other things.
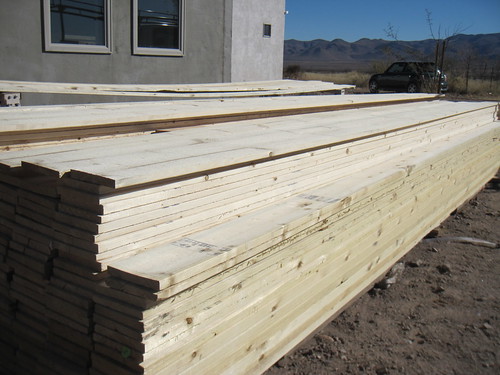
In other news, we got the ceiling board lumber so I have lots of staining work to do. (Dad, we miss you!)
It is finally spring here! There are lots of baby cows and poppies this spring. We have had several days of warm weather and are stucco’ing madly. Not too much fun in the 40 mph wind gusts we had today, but that is a part of spring here.
Each evening after stucco’ing, I’m working on finishing the big timbers that will go up around the doors and windows where there is adobe. The color is the hardest part to me — to stain or not to stain? I’m leaning toward leaving the vigas (round timbers that are already up) and the glulam with a natural finish and doing the rough timbers and ceiling boards with a light stain like we have for the ceiling in the guesthouse.
The first step was to trim the timbers. Then for the finish. I don’t have much experience with finishing rough wood, so any advice is welcomed.
Here’s my process so far.

This is the wood before any finish.

This is after staining.
With drying time and two sides for each board, the whole process takes about 14 days. This will take awhile, but so far, the results look good.

And with the final coats of sealer and finish

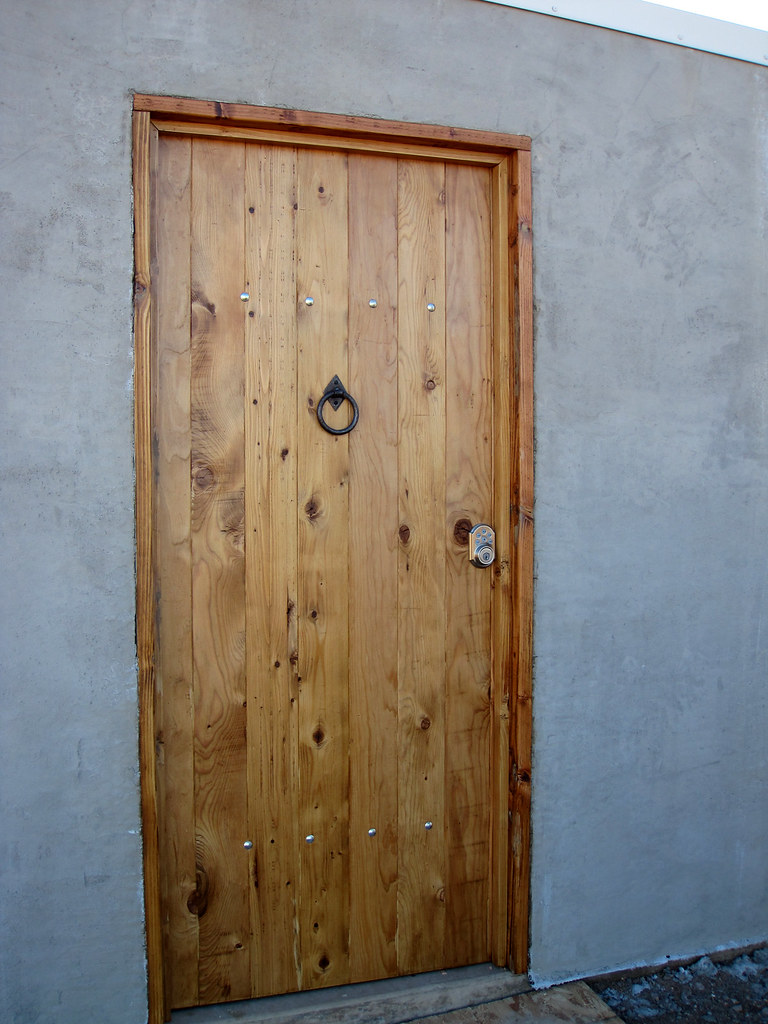
Since the snow before Christmas, we’ve had another snowfall (this is not seeming like the desert southwest), and it’s been cold — low 20s at night and not out of the 40s during the day. With a brisk north wind, that’s too cold to stucco, so we’ve been working on solar and other things. One of them is the woodworking.
As you may remember, we began a test run of building our own doors just before Thanksgiving. It was a project that we weren’t in a huge hurry to finish, but now that the batteries are in their house and the weather is cold, the battery house needs a door.
After many rounds of sanding, I proceeded with staining the door. I used Minwax wood conditioner first (which I really liked) and then an oil-based stain. It went on very nicely. Then we began working on mounting the door hardware and hanging the door. (In hindsight, I would have done all the hardware work before even staining. It didn’t make a huge difference, but I did have some touch-up work to do afterward.)
First, Brad used a template to rout out the space for the hinges, both on the frame and on the door itself.

Then we did a test hang (the first of many) to check the door height and width. We needed to trim just a bit off the top and the bottom, which went smoothly.
Then we worked on the width with a planer. This not only narrowed the door to fit, but also put a bevel on the door so it would close right.

The process here is first to plane and then to test hang to check fit. Repeat, repeat, repeat. It took many, many times to get it just right.
Then for the last steps of several coats of varnish and installing the lock. Here is the varnished door.

I also stained and varnished the door frame, which is really looking nice. (It’s been fun to finally do something that I had some pre-existing expertise in — thanks Dad!)
You’ll have to wait to see it hung with final hardware … it’s taken me so long to get this posted that we’ve now commenced stucco’ing. And with stucco started, everything else will be on hold for a while.
So, we have begun to make our first door. Here are the steps.
First, we chose seven 2×6 boards that were reasonably straight, flat, and nice looking, a challenge given the quality of our lumber. Here the boards laid out on the slab to make sure they are flat.

Then we used a table saw to cut about 1/2″ or so off each side to square them up and help ensure fit.

Then we ran a router around the edge to give a beveled look. There are many shapes of router bits with various angles, etc. We chose one that would make a shallow, slightly rounded edge.

Next, we laid out the boards on a series of four pipe clamps with cardboard underneath for gluing. We smeared the edges of each board with carpenter’s glue and then clamped then tightly together, trying to make sure the boards were all flat with no bowing.

Here it is all clamped together….now to wait for 24 hours.

After it came out of the clamps, everything looked great. It’s going to be a week or so before we get to town to get stain and varnish to finish it, so you’ll have to wait until then to see the final results.