concrete

...now browsing by tag


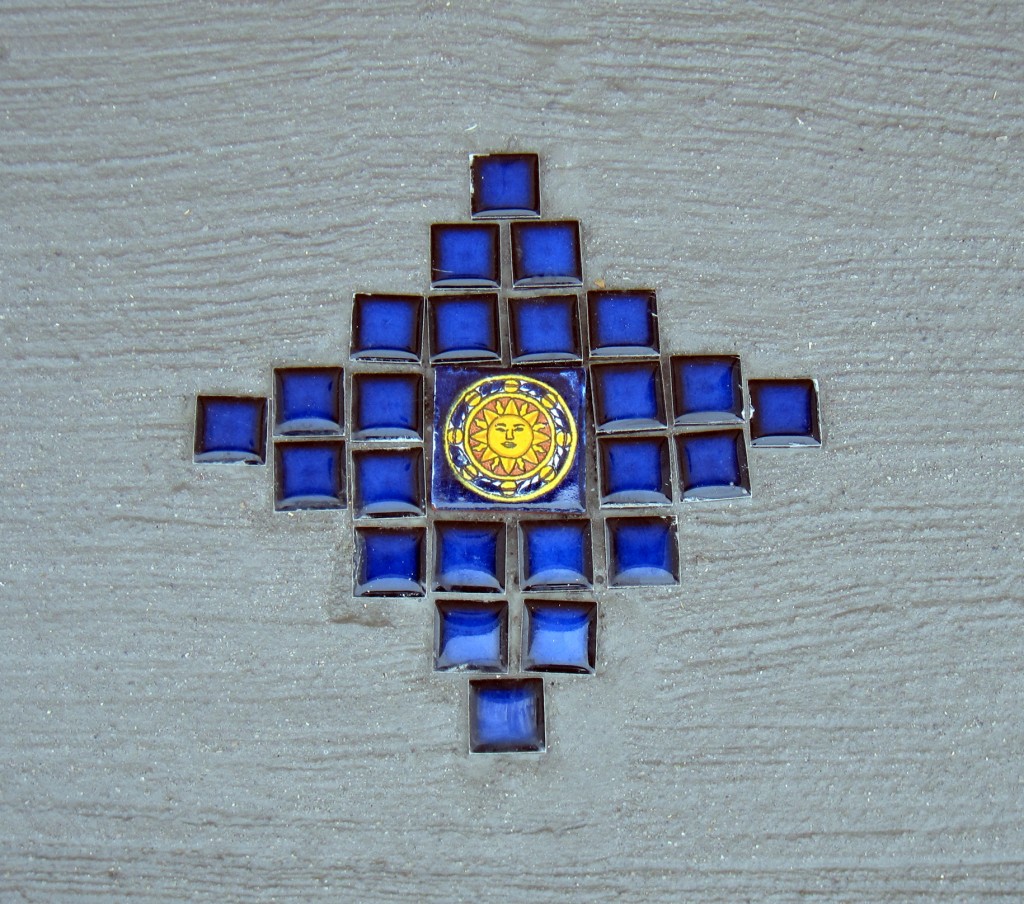
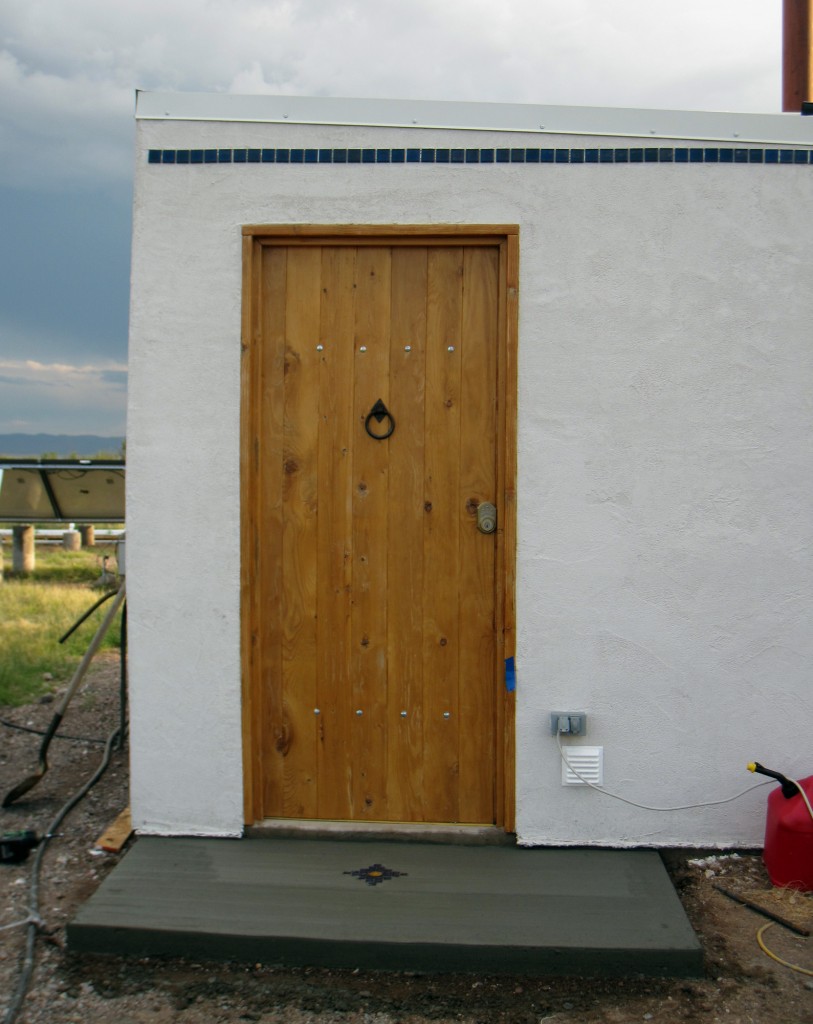
New tile design

Thursday, September 15th, 2011

We poured a little stoop for the battery house today and had a new design idea.

batt1

batt2

Other than that, the roof is done, and we’ll finish the outside OSB tomorrow. Then it’s on to plumbing and electrical (I think).

The weather here is starting to change. The monsoons, which have been light and should be over by now, seem to have picked up steam in the last couple of days. Last night, it rained all night, and the thunder booms shook the whole house. It seems to be getting cooler and seems like fall is here.

Checkers, anyone?

Monday, January 17th, 2011

IMG_1520

Now for the hard work of grinding out all the edges to be smooth!

Some finishing details

Monday, May 17th, 2010

One of the few sad parts of the construction process has been what it did to our (formerly) beautiful floors. This weekend, as we finished the back two rooms, Brad scrubbed the floors and put on another couple coats of sealer. Presto! Our beautiful floors are back!

I’m also really happy with how the cove came out. We fussed over it a lot. I’ll write more about how we ended up doing it in a couple weeks when I have time.

Tonight, we made a trip to Willcox to get some of our furniture out of storage. Very exciting!

And look who was back in our oak tree this week. All grown up now! (Baby pics here in case you missed them last year.)

Catch-up day

Saturday, October 3rd, 2009

It is a rare day of steady, hard rain here. It’s supposed to rain all weekend…very rare for Oct., we hear (except for in 1983, when Tucson got 7 inches of rain in a couple hours and it took out the freeway). While the weather quashed our plans to spend the day in Bisbee, it has given me a chance to catch up on some work and to do some writing and video editing.

It has been a busy week here. In addition to having Brad’s mom visiting, we are taking care of 6 horses, 2 burros, 2 cows, and 4 dogs for our neighbors. Whew!

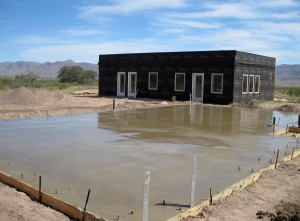
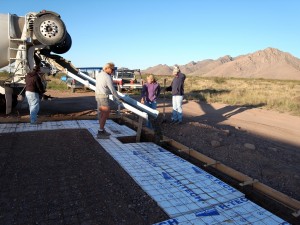
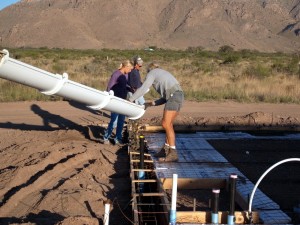
Oh yeah, and the main house slab was poured on Friday.

[coolplayer autoplay=”0″ loop=”0″ charset=”utf-8″ download=”1″ mediatype=”wmv”]
Pouring the slab
[/coolplayer]

color-sm

This is the color.

color_into_truck-wm

They dump it in the mixer, bag and all.

And here are the final results (well, not exactly final, but for today:):

finished_slab1-sm

finished_slab2-sm

Foundations and a battery house

Thursday, September 24th, 2009

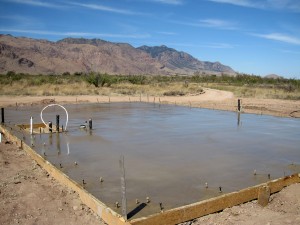
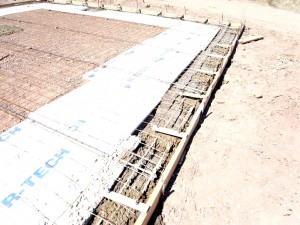
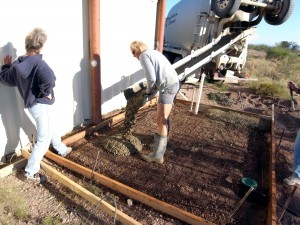
There were a few hiccups getting through the inspections for the foundations, however; things got worked out and we made our first pour today. We poured all the foundations for the main house and we did everything for the battery house. I took quite a lot of pictures… unfortunately, I was completely out of sync with my camera and 80 percent of the pictures were of my feet. What little there are you can see below. I also made a video of cement drying-sounds exciting! It was a dry run for when we pour the main house.

If you wonder about the Styrofoam around the perimeter, it’s there to turn the floor into thermal mass. It does get cold here and the Styrofoam separates the floor from the cold ground. Our windows are designed to warm the floors and the adobe walls in the winter and radiate the heat back in the night.

Just starting out

Just starting out

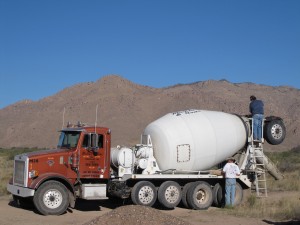
The cement truck

The cement truck

Scoot and company

Scott and company

Foundations poured, waiting for the slab

Foundations poured, waiting for the slab

Starting the battery house

Starting the battery house

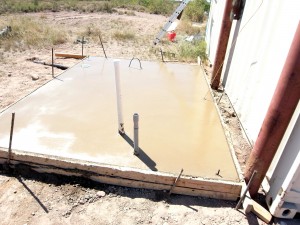
Finished

Finished

That big loop of rebar is to chain down our generator. The pipes are for water and electricity to the houses.

Get the Flash Player to see this content.

Scoring the concrete

Monday, May 25th, 2009

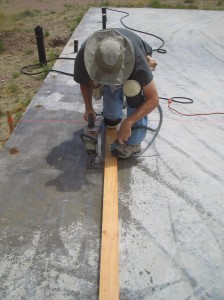
On our existing slab, which we’re staining, we decided to try scoring the concrete to get a tile-type effect. The great thing about Tumbleweed is that it is a low-risk “practice” ground for our main house. And the workshop in Tumbleweed is the practice room in the practice house, so that’s where we tried this out.

We read up on this on the Internet, and here is the process we used.

Step 1: Measure

Step 2: Lay down a straight 2×4 as a guide, and cut lines about 1/8″ deep with a Skilsaw with a diamond blade

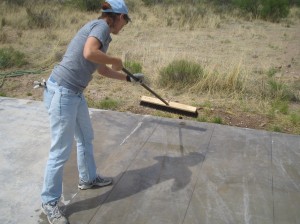
Step 3: Spray with water and sweep to remove the concrete dust

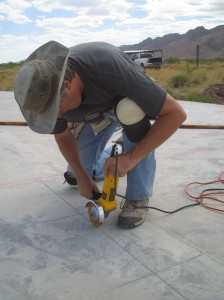
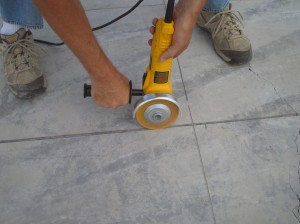
Step 4: Use a grinder to smooth out the groove (a couple passes)

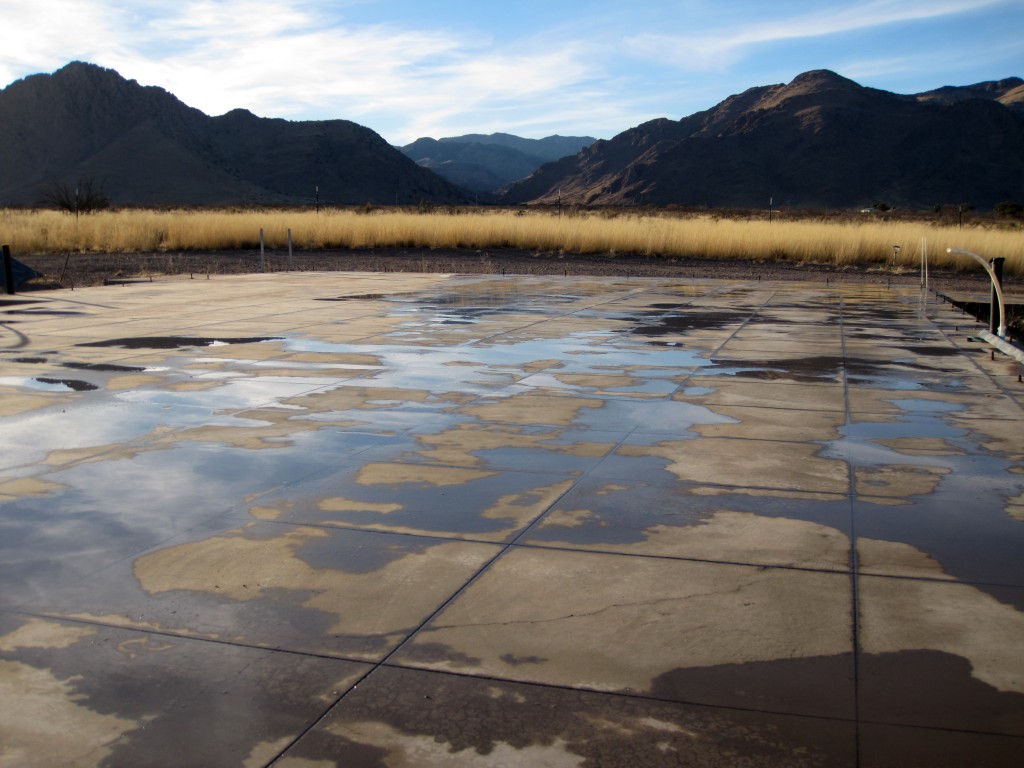
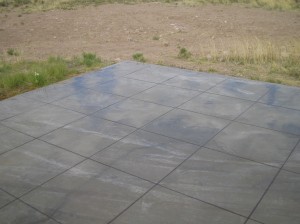
And here are the final results (wet and before stain):

We like this so much that we’re thinking about doing the whole slab this way.